


Make sure that only you or approved teammates can edit a cell or cells in Google sheets. This is also known as "protecting" a cell or range of cells by giving permissions to relevant stakeholders.
How to protect a range in Google Sheets
When you lock a cell, you're ensuring that only you and trusted stakeholders can edit the content — or you're adding a warning that lets your teammates know this is a cell you've protected.
This enables you to share important data with teammates across access levels, without worrying that your data will accidentally be updated or erased.
How to lock a cell in Google Sheets
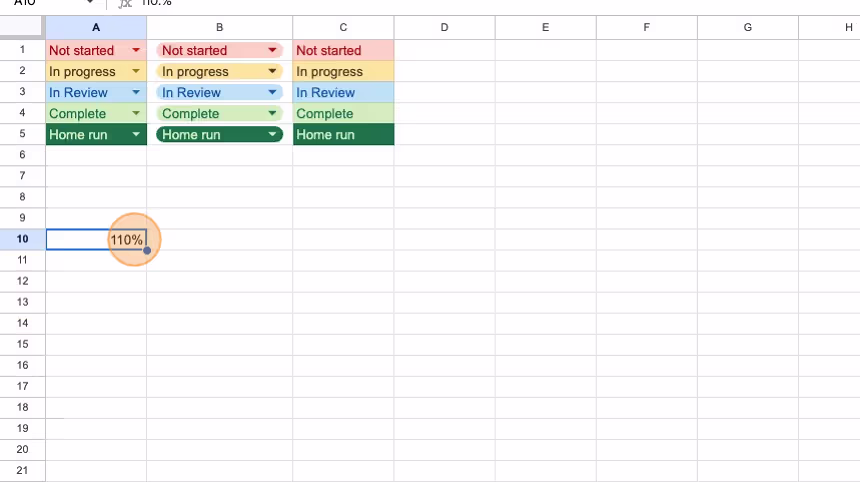
1. Navigate to your Google Sheet.
First, access the sheet where you want to lock a cell. You can find it via Google drive or your company's knowledge base.
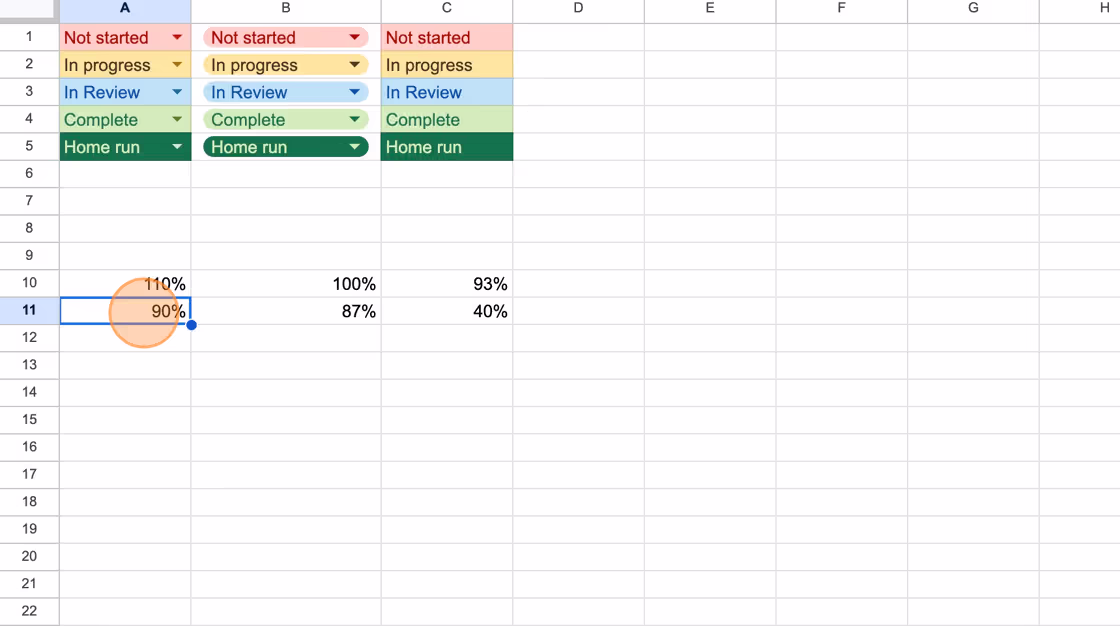
2. Right click on the cell.
Find the cell you want to lock and right with your mouse. This will show you the options for how to filter and edit the cell.
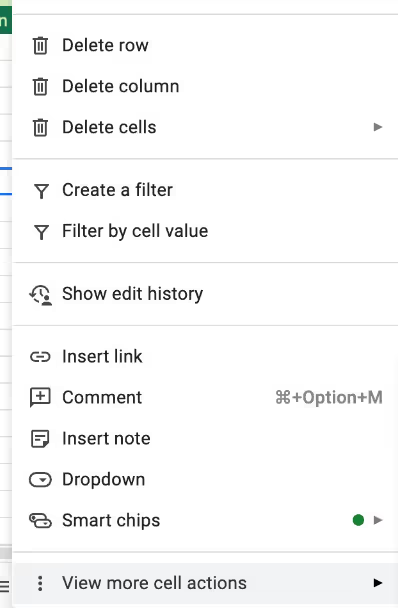
3. Hover over "View more cell actions."
After you right click, a menu will pop up to the right of the cell. Scroll to the bottom of the menu item to "View more cell actions." Without clicking, it will populate options for formatting and validating data.
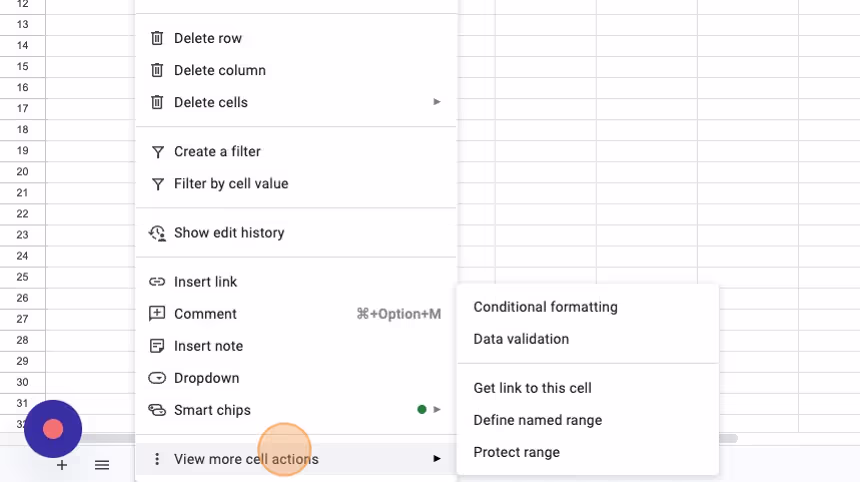
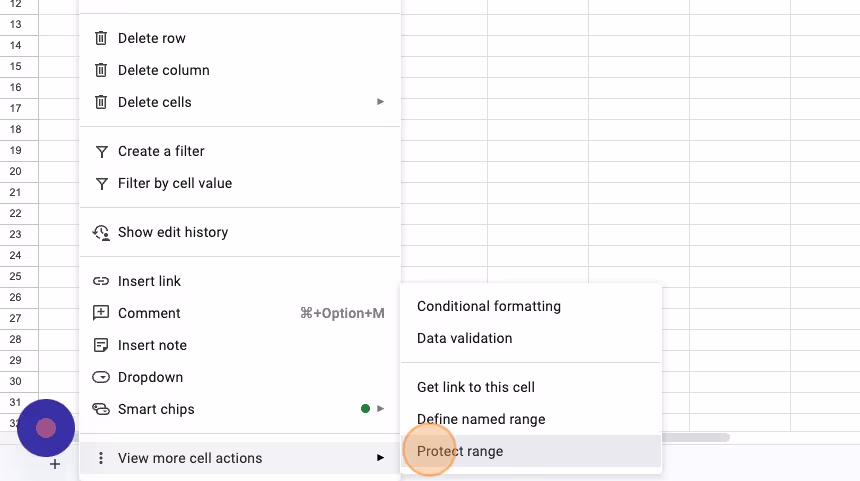
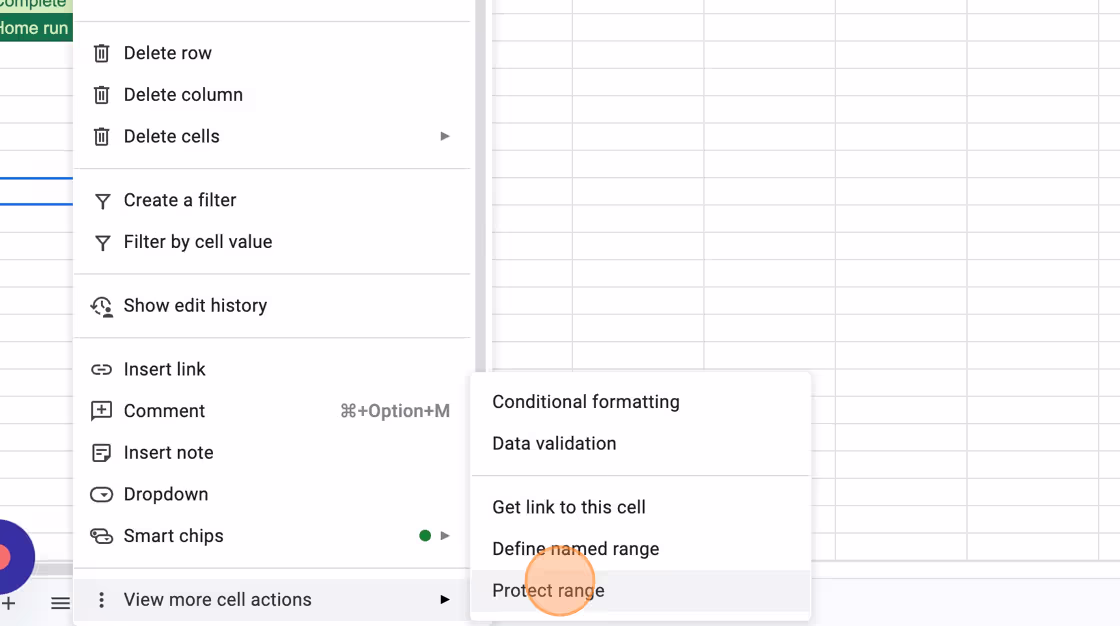
4. Click "Protect range."
Locking a cell is also referred to as "protecting a range." This option will be at the bottom of the menu to the far right of the cell.
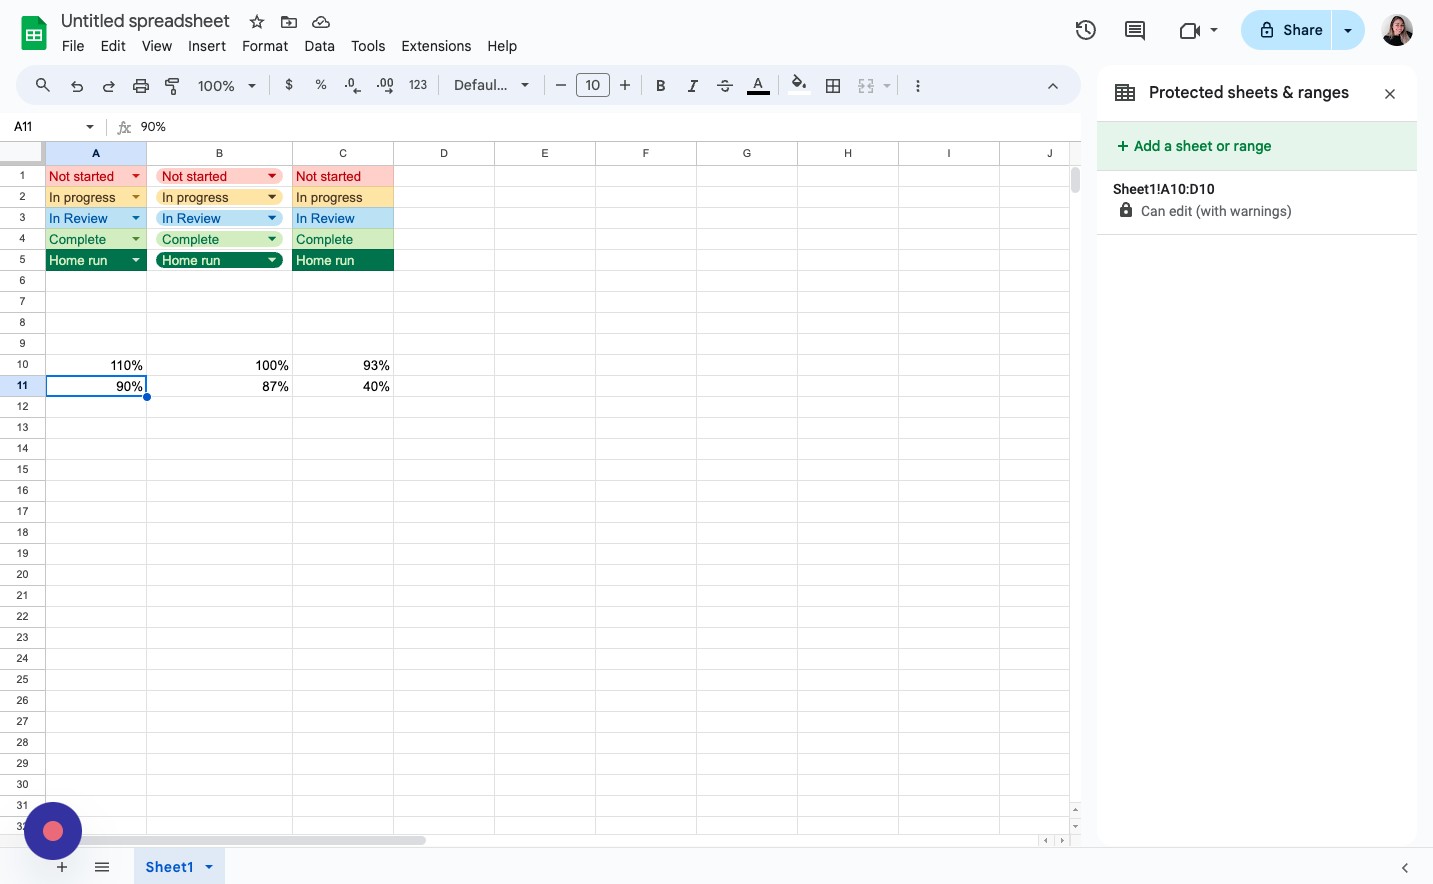
5. Click "Add a sheet or range."
After clicking "Protect range," you'll see a new menu on the righthand side of your screen. Select the option "+Add a sheet or range" in green.

6. Select "Set Permissions."
The cell that you selected at the beginning will be under "Range." For example, our example shows that we clicked on A11 (column A, row 11).
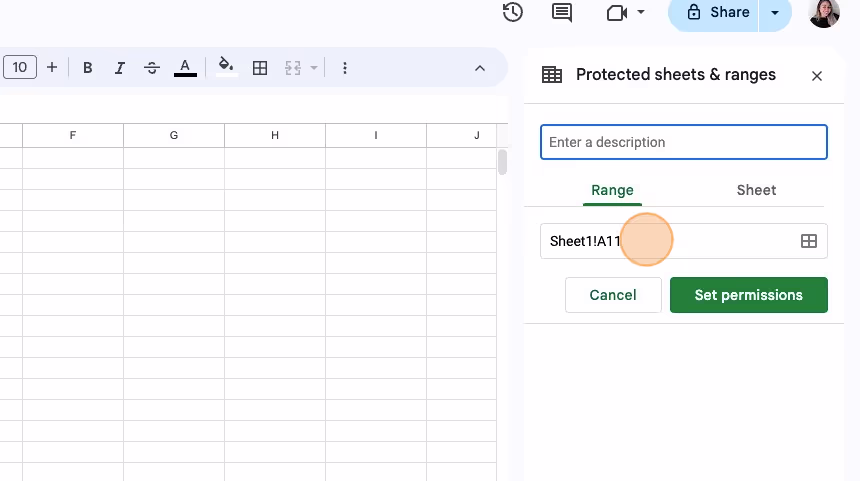
7. Set permissions
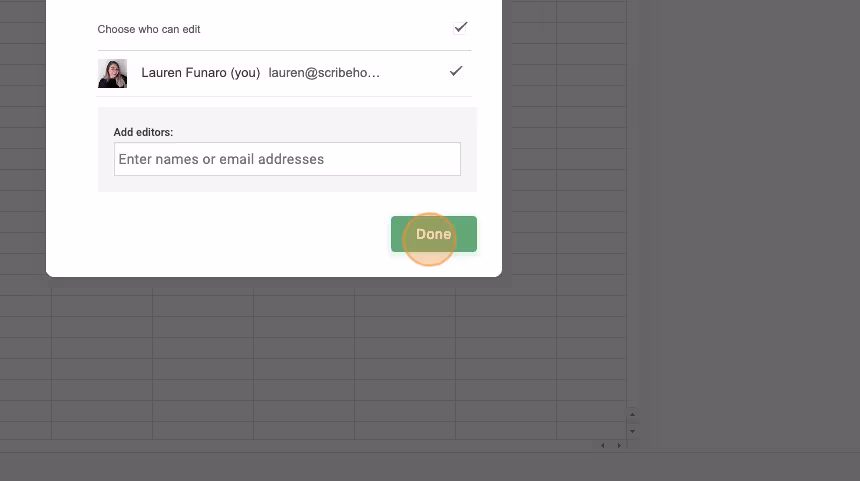
Now you can select who has access to edit this cell. You can also decide to add a warning for teammates who try to make updates.
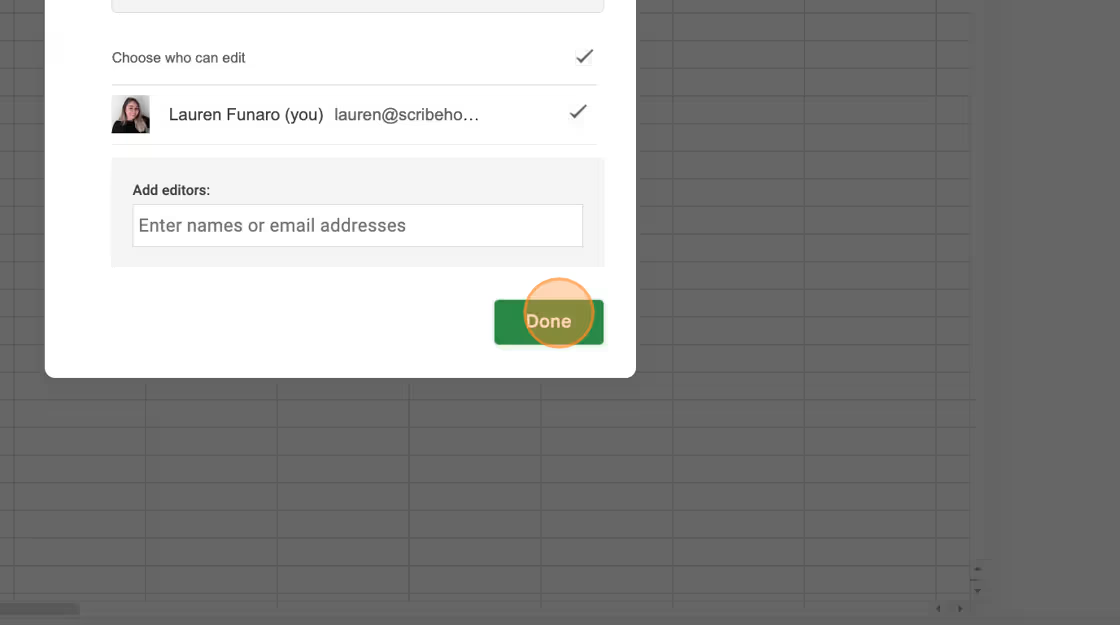
8. Click "Done."
Once you've updated your permissions, you're good to go!
How to lock rows in Google Sheets
You likely have vital data in different parts of your Google sheet — meaning you may need to protect more than one cell. Here's how to lock a row of cells in Google Sheets.
1. Complete steps 1-5 in the section above.
After those steps are complete, you will have the option to add a range.
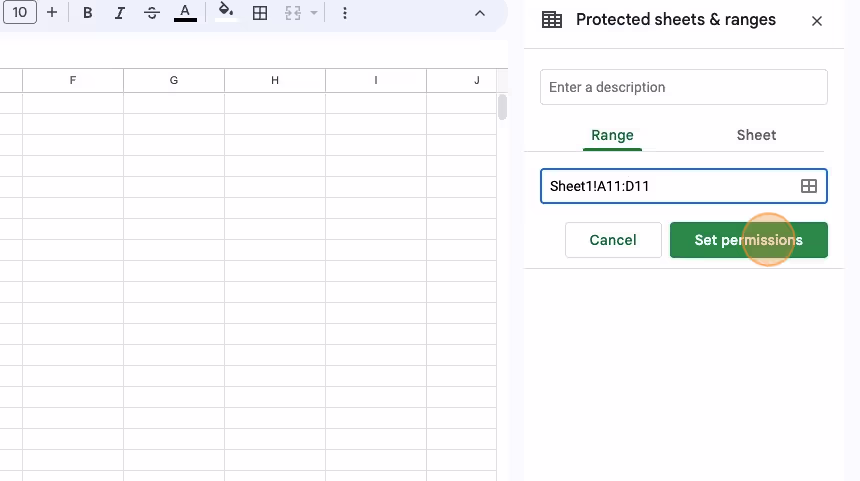
2. Add a colon, and then which cell will end your range.
The ending cell in this example is D11. The cell you clicked will already be added to the range (A11 in this example.) The full formula will read Name of sheet - Start of Range Row Letter - Column Number : End of Range Row Letter - Column Number (Sheet1!A11:D11 in this example).
How to lock columns in Google Sheets
The process of locking columns in Google Sheets is very similar to locking rows. You might want to lock a column based on the way you sort your data.
1. Complete steps 1-5 in the first section.
This will give you the option to add a range.
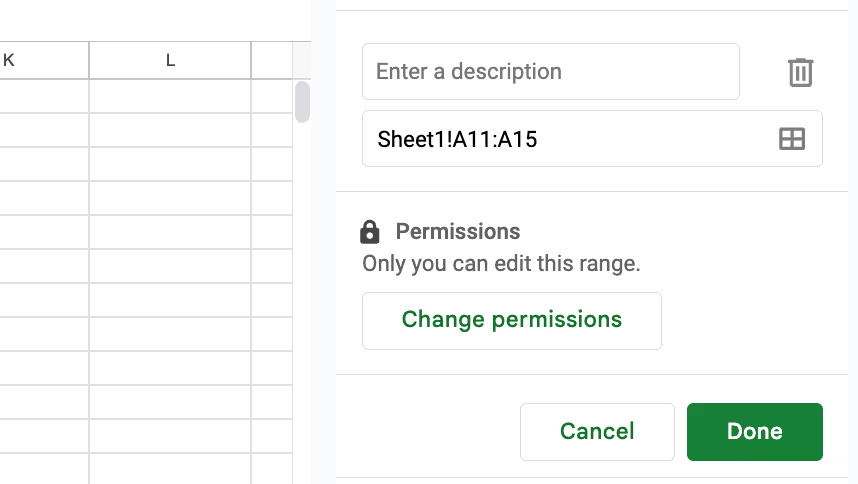
2. Add a colon, and then which cell to end your range with.
The cell you clicked will already be added to the range (A11 in this example.) The full formula will read Name of sheet - Start of Range Row Letter - Column Number : End of Range Row Letter - Column Number (Sheet1!A11:A15 in this example).
How to lock an entire sheet in Google Sheets
Depending on the importance and delicate nature of the data, you might want to lock an entire sheet to ensure that no changes can be made accidentally.
Luckily, this is just as easy as locking in-cell data for a single cell. If you've followed along above, these steps should look familiar.
1. Right click on a cell.
You can click on any cell to lock the entire sheet.
2. Go to "View more cell actions."
Scroll down and hover over where it says "View more cell actions."

3. Click "Protect range."
Locking a cell is also known as "protecting a range (of cells)"

4. Select "Add a sheet or range"
This will appear on the righthand side of your screen.
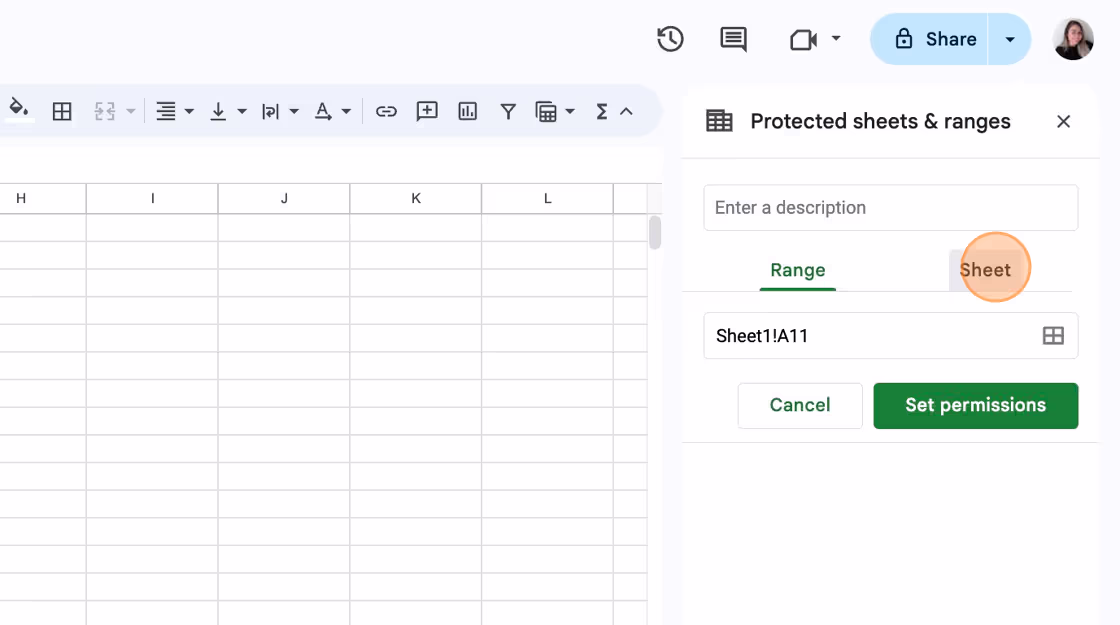
5. Select "Sheet."
To lock the entire in sheet, select "Sheet" on the righthand side of your screen.
6. Click "Set permissions."
This will allow you to give only yourself or selected teammates access to edit the cell, or issue a warning when someone clicks the cell.
.avif)
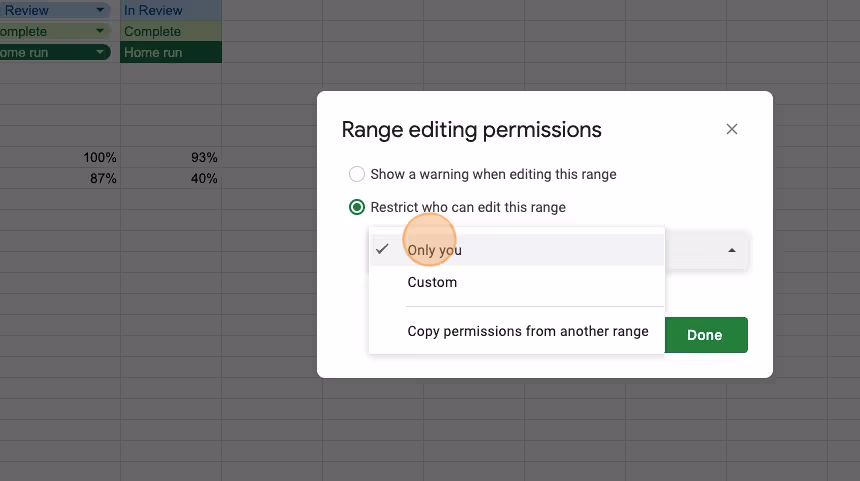
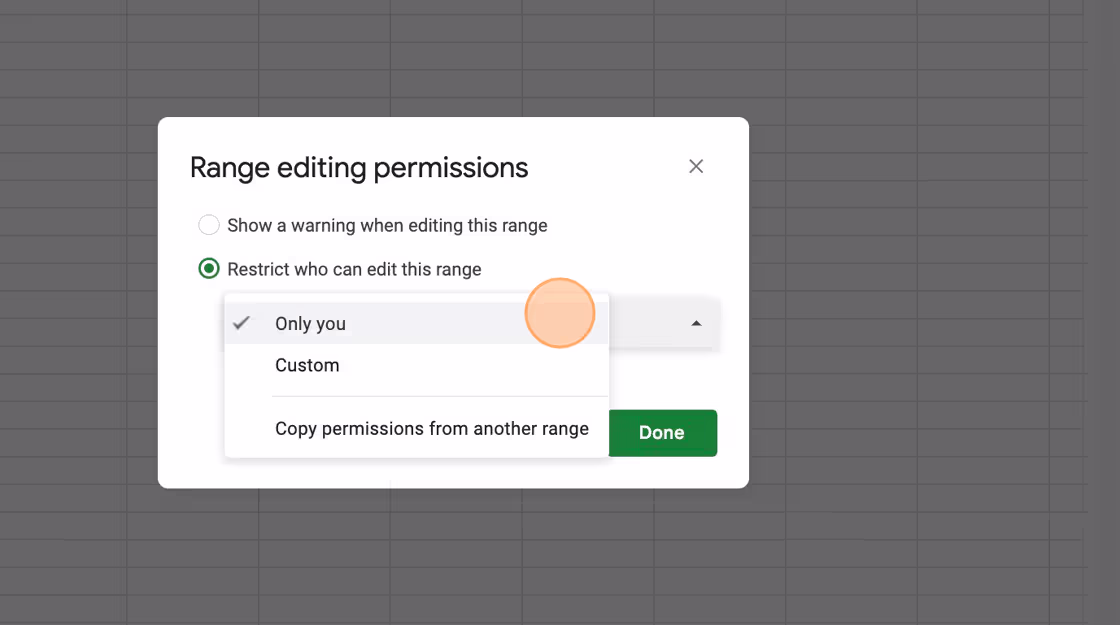
7. Set your permissions.
Now you can choose to lock the sheet so that only you can edit, or you can customize to give other team members permission to edit your document. If you want others to know the data is sensitive but still let them make edits, you can choose to show a warning instead.
8. Click "Done."
Now you've updated your permissions and locked the entire sheet.
How to unlock cells in a Google Sheet
As data and roles evolve, you may need to unlock cells or a sheet to account for changes. Here's how to unlock a cell in Google Sheets.
1. Right-click on the cell.
Right-click on the cell you want to unlock to open up the dropdown menu.
2. Go to "View more cell actions"
Scroll down on the dropdown menu and hover over "View more cell actions" to open a secondary menu.
3. Click "Protect Range."
Locking a cell is also known as "protecting a range." To unlock a cell, you will access the same feature.
4. Select the locked cell.
On the righthand side of your screen, you will see all of the cells and ranges that you have locked. Select the one you wish to unlock (it will have the row and column of the cell you clicked).
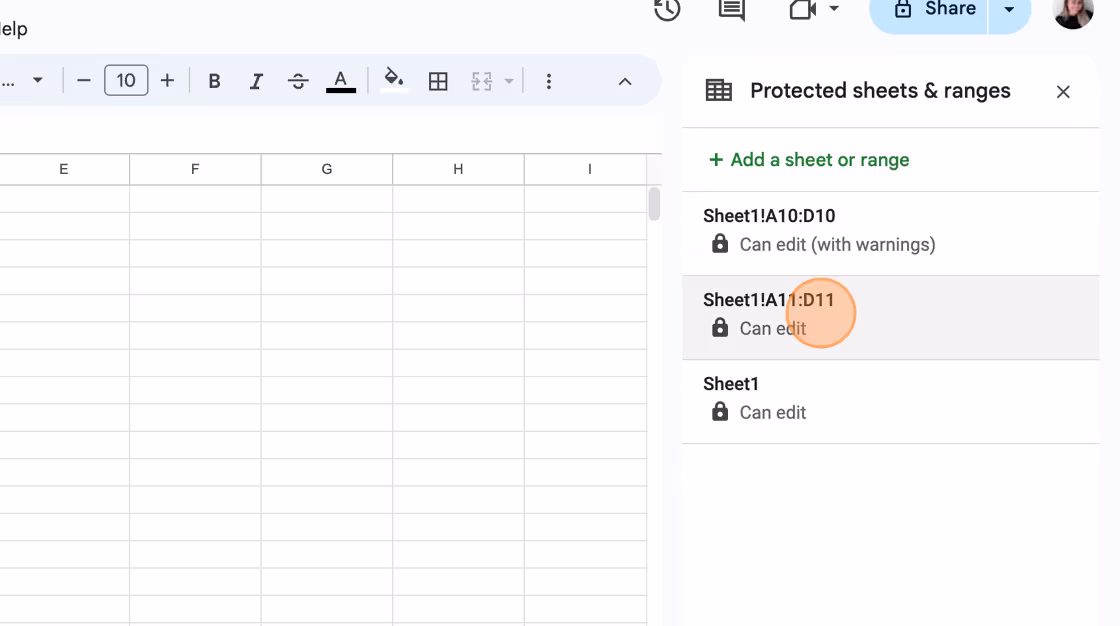
5. Click the trashcan icon.
Select the trash icon on the righthand side of the menu.

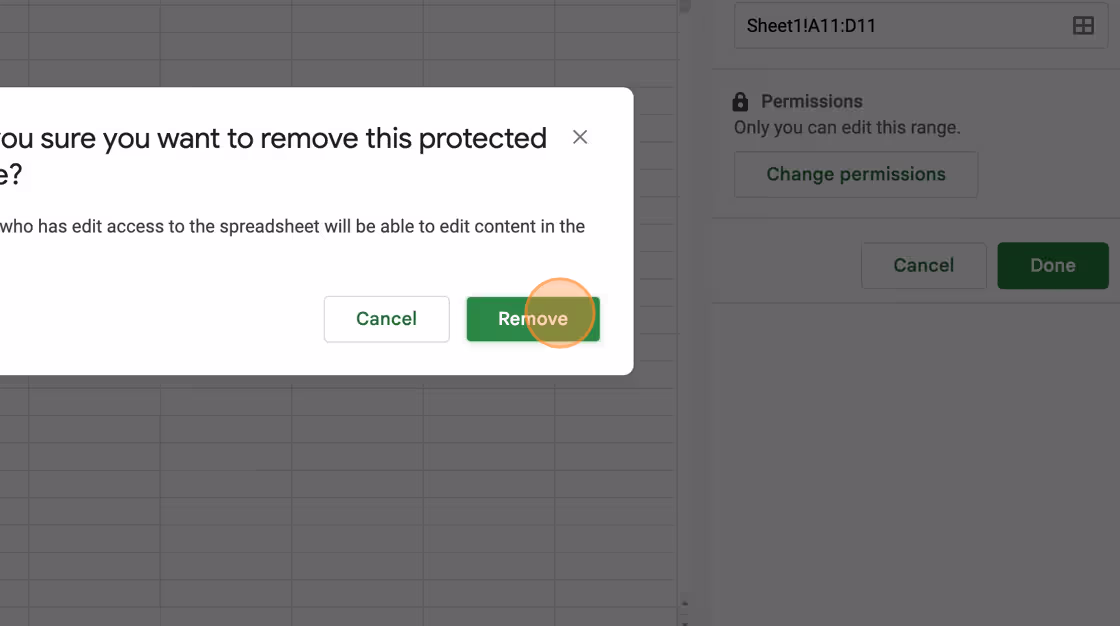
6. Click "Remove."
Confirm that you want to unlock the cell by clicking "Remove" on the warning pop up.
Get more Google Sheets guides and make your own
Scribe has thousands of guides for Google Sheets, Excel and so much more. Sign up for a free account to save and share this guide with your team.
Scribe is an AI-powered process documentation tool that turns any workflow into a visual step-by-step guide — complete with text, links and annotated screenshots. Build guides for your colleagues and clients in seconds. All for free!
Like this guide? Check out these related resources
- Google Sheets 101: Google Sheets Tutorial — Everything You Need to Know to Be an Expert
- Free Tool: Google Sheets Training Generator
- Step-by-Step Guide: How to Create a Google Sheets Drop Down
- Free Tool: Google Flowchart Generator

