


How to use Scribe to record GIFs on Mac
While recording your Mac screen as a video using Scribe is simple, did you know you can also use it to capture your screen as a GIF?
Consider a scenario where you need to guide your teammates or clients through a particular process.
Instead of leading them through a series of back-and-forths, enhance their learning journey by visually presenting the process to everyone. Leveraging Scribe's documenting capabilities, you can effortlessly document the sequence as a GIF and instantly distribute the link.
This allows everyone to view and understand the process without any hassle seamlessly.
Why choose Scribe to record GIFs on Mac
Increases team efficiency and productivity: Your team will become more efficient and productive thanks to Scribe's streamlined GIF recording process. How? Powered by ChatGPT, the tool generates professional and editable step-by-step guides for your process. Its centralized platform further streamlines your documentation efforts. This way, your team can focus on getting work done instead of bogged down in administrative tasks.
Saves time: Recording and editing GIFs on Mac is incredibly easy with Scribe. Use it to automate the otherwise time-consuming process of recording and enhancing GIFs. This will save you and your team members valuable hours that can be directed toward more important tasks.
Brings consistency and standardization to documentation: Use Scribe to record GIFs on Mac devices to explain even the most complex processes easily, lowering the potential for error and boosting overall work efficiency. Plus, the overall layout is visually appealing and user-friendly, ensuring your team gets up to speed in no time.
Getting started with Scribe to record GIFs on Mac
Step 1: Capture your process
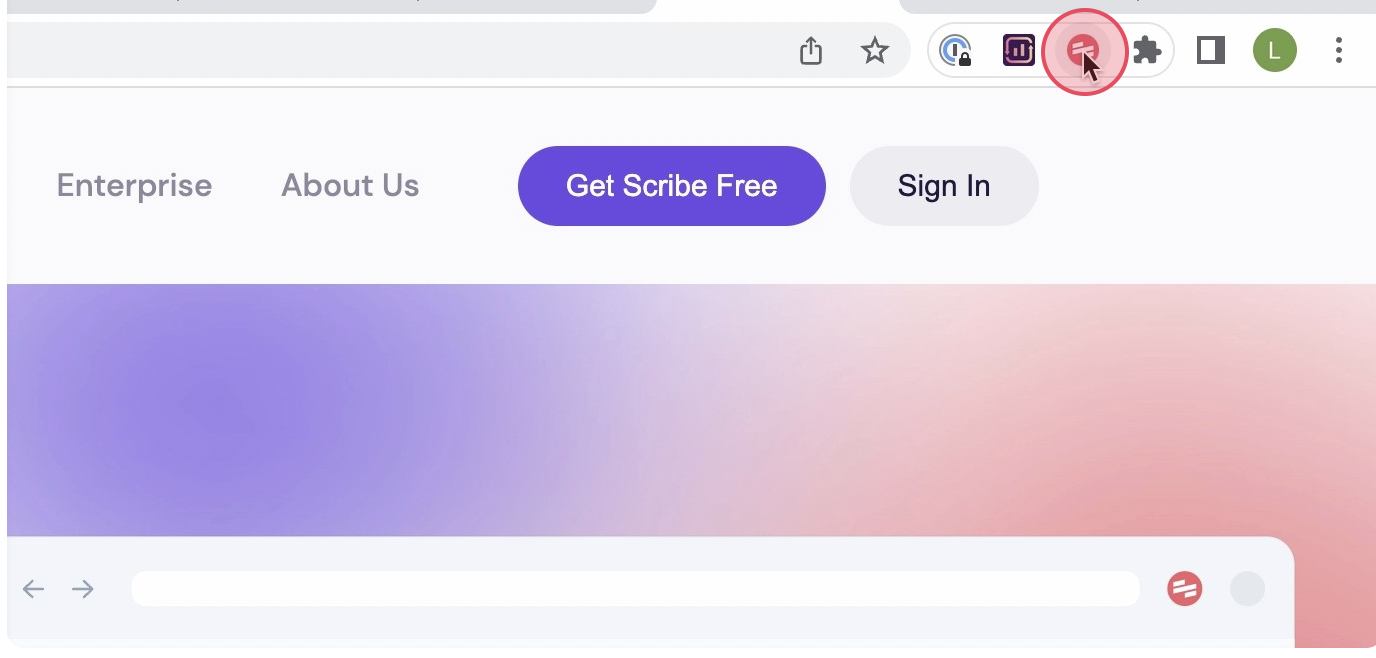 |
Once you've installed Scribe, open the screen you want to record and convert into a GIF on your Mac device. Click on the Scribe widget in your Chrome toolbar.
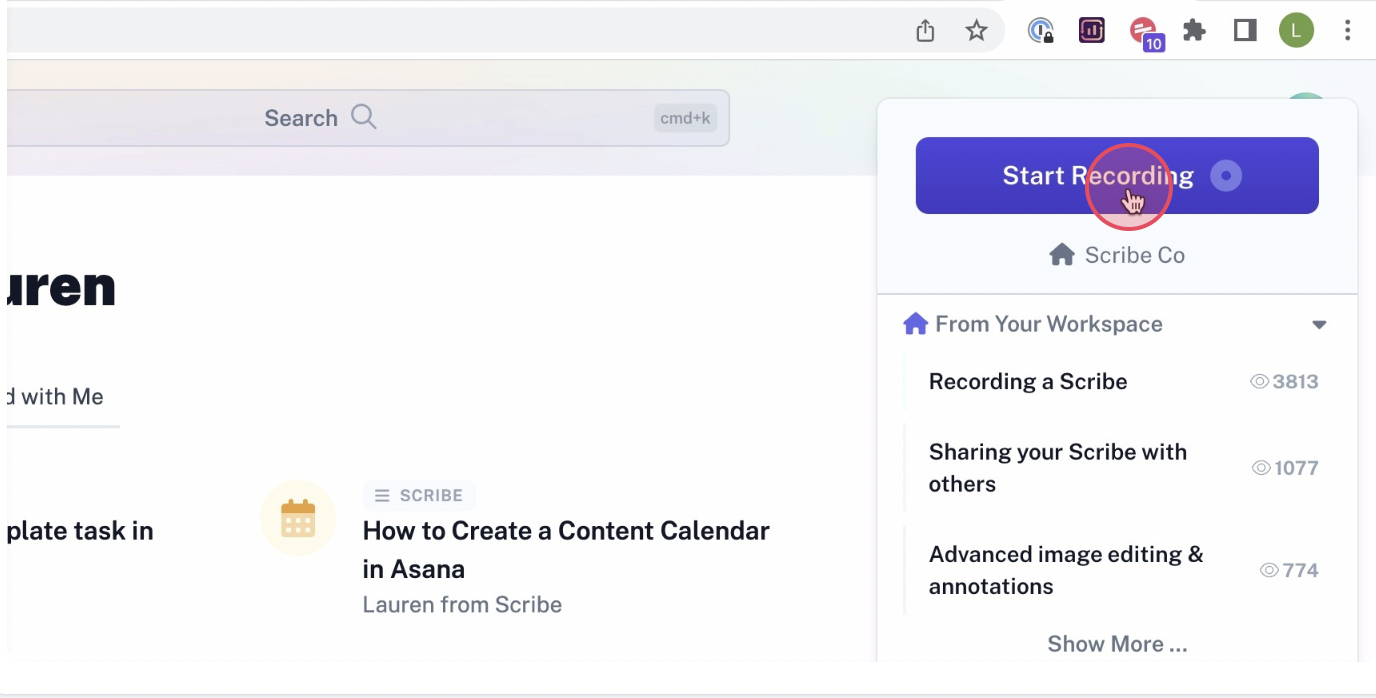
Next, click on 'Start Capture' — and that's it. Scribe then takes over, automatically capturing screenshots and text as you go about the process, turning your steps into a quick, easy-to-understand guide. This serves as the main content for your GIF.
Step 2: Stop Capture
 |
Done with your process? Click on 'Stop Recording' and Scribe will automatically generate the step-by-step guide. All the legwork is taken care of; you don't need to do anything else.
Step 3: Edit and customize your scribe
 |
At this point, you'll have a custom scribe ready. You can either share it as is with your intended audience or modify it to enhance the guide to ensure it accurately reflects your process. For instance, you can add expert notes, update the steps to clarify the process and annotate screenshots as needed.
Step 4: Create a comprehensive Page (if needed)
Scribe also offers a handy Pages feature, which allows you to combine multiple elements like Loom and YouTube videos and even other scribes to create elaborate documents.
Here, you can add your existing Scribe GIF to a new or existing Page to give the reader more context.
Step 5: Share with your team
Next, it's time to share the GIF with your team!
 |
You have several options when it comes to sharing. You can:
- invite your teammates to the Scribe workspace
- share a link for the guide
- embed it within an existing document
- exporting it to PDF, HTML, or Markdown
Start recording GIFs on Mac with Scribe today and see your team's productivity improve — and your customers' queries lower. Get started for free!
Here are more amazing tools you must try from Scribe:
