
Introduction
Seamless and successful operations rely on your ability to keep everyone on your team on the same page. To do that, everyone should have access to the information they need to do their jobs.
That might sound simple, but as your company grows, building a comprehensive knowledge base requires a lot of time and effort.
Knowledge bases need to be accessible and well-organized, so it's easy for members of a growing team to get relevant information right away. If the information is hard to find, your knowledge base will be more of a nuisance than a useful resource.
The good news is there are several tools you can use to help you build a comprehensive and user-friendly knowledge base in a time-efficient manner. Two of these tools are Guru and Scribe.
Here’s how to use Guru and Scribe together to build a more effective knowledge hub for your organization, wherever you work.
Keep reading to learn:
- What is Guru?
- What is Scribe?
- Benefits of using Scribe with Guru
- How to set up Guru’s Scribe integration
- How to add Scribes to Guru Cards with Smart Embed
- Final thoughts: How to use Guru with Scribe screen capture guides
What is Guru?
Guru works as a modern take on an intranet platform. It’s user-friendly, powered by artificial intelligence (AI) and syncs with your existing software to create a seamless knowledge base experience.
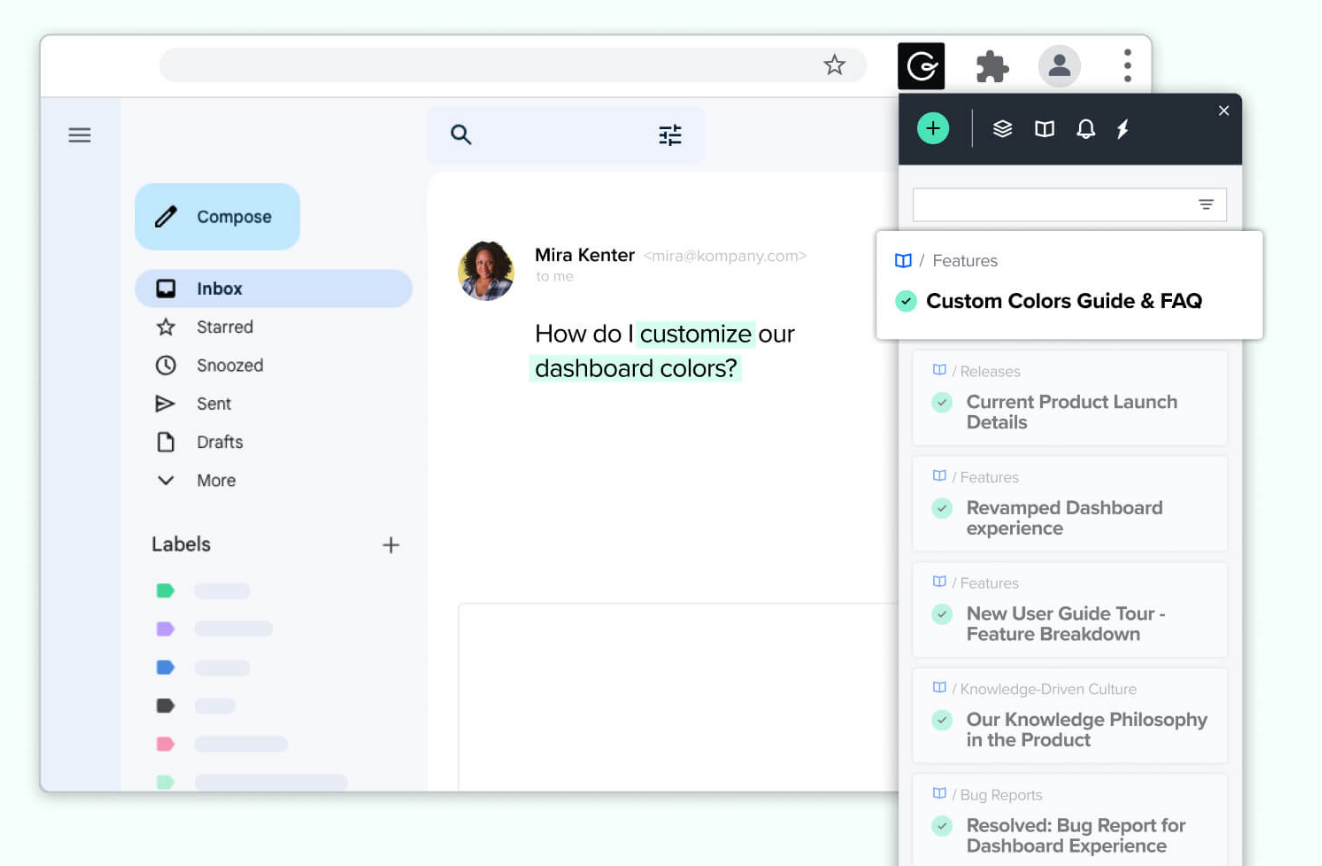
With Guru, you get a full suite of company knowledge tools all in one platform, including an intranet, knowledge base and wiki.
Guru’s AI-powered insights and people-first design make it more engaging and enjoyable for employees to use. In particular, it uses AI to make suggestions to your admin team as they create reference cards. It also provides personalized knowledge base recommendations for each employee when they interact with the software.
Key Guru features include:
- Information capture from other websites and tools like Slack and Google Docs.
- Browser extension for easy knowledge base access anywhere.
- AI-powered personalized knowledge base recommendations.
- Announcements and announcement insights.
- Automated verification system.
Here’s how to add information to your Guru knowledge base using Cards.
How to create a Guru Card
Cards are the building blocks of Guru. All information is stored on Guru Cards, which you can organize to form a knowledge base.
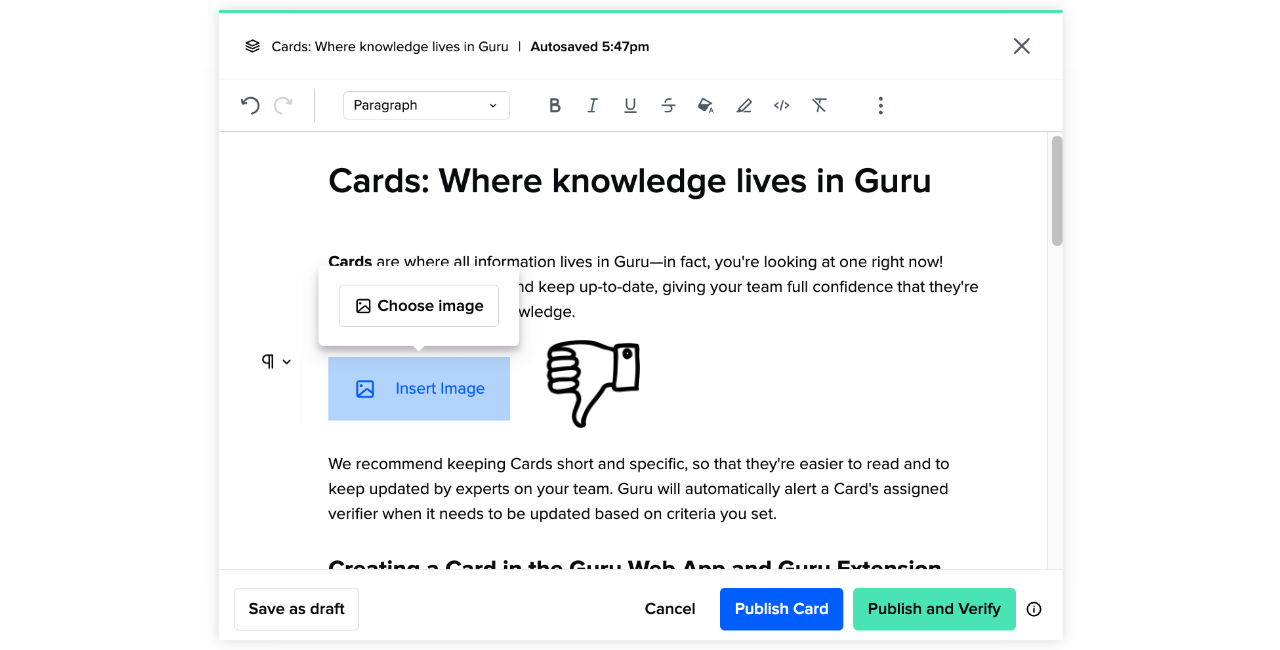
Here’s how to create a Card in Guru.
- Log in to the Guru web app and select the + Create a Card button.
- Choose to Create a New Card or pick a Template Card created by your team.
- Type a Title for the Card.
- Type the information you want to include in the Body text of the Card. Insert any media or hyperlinks that help explain the content.
- Use the formatting options to add headers, code snippets or change text formatting.
- Click Next Step.
- Choose a Collection where your Card will be stored in.
- Pick a Board for your Card to appear on (optional).
- Assign search Tags to the Card to make it easier to find (optional).
- Click Next Step.
- Select the Verifier and set a Verification Interval.
- Edit Who can access this Card?
Guru helps you keep the information on your knowledge base up to date. For each Card, you can add a verifier and verifier interval.
The verifier is the person who takes ownership of the Card. The verifier interval creates time-based notifications that remind the owner to review the Card and make edits if necessary.
What is Scribe?
Scribe is a tool you can use to easily create step-by-step guides for any online process, from merging columns in Google Sheets and adding a new lead to your CRM or editing advanced code.

Scribe lets you capture the actions in your online workflows and easily convert them into user-friendly step-by-step guides. You can access Scribe through the web app and Edge or Google Chrome browser extension.
Specifically, Scribe’s browser extension lets you create guides wherever your work is. If you’re making a tutorial on Google Sheets, you don’t have to go back and forth between Scribe and Sheets.
The guides you create with Scribe include features such as screenshots, clicks, annotations, tips and custom formatting for easy reading. In other words, you can create comprehensive tutorials without having to screenshot your work every step of the way. Scribe takes care of that.
You can use Scribe for:
- Capturing company standard operating procedures (SOPs).
- Answering frequently asked questions (FAQs).
- Seamlessly implementing new software.
- Onboarding new team members.
- Training new users.
When you use it with Guru, Scribe can turn knowledge cards into easy-to-follow guides. But before you use the two together, you’ll need to have a Scribe account.
{{banner-short-v2="/banner-ads"}}
How to get started with a Scribe account
Getting started with Scribe is both easy and free. With the free basic tier, you get access to unlimited Scribes and Scribe Pages, integrations with other web apps and Scribe’s Smart Embed feature.
Scribe also offers Pro and Enterprise plans for companies that want more customization and features, such as branded guides.
1. Sign up for a Free Basic, Pro or Pro Teams plan.
2. Download the desktop app or add the Scribe extension for Chrome or Edge to your browser.
3. Capture your workflows in real time.
4. Customize and edit guides for your team.
Once you’ve got your Scribe account set up, you can add any tutorial to a Card in your Guru knowledge base.
Benefits of using Scribe with Guru
Guru makes it easy to add information to your knowledge base, keep it organized and make it accessible to your team. Scribe, on the other hand, lets you make easy-to-understand screen capture guides in seconds.
To use the two together, you can add Scribes to your Guru Cards for easier learning. Your team members can follow along with the Scribe and understand the process on the first go.
When you use Scribe and Guru together, you receive time savings benefits all around. The person reading the knowledge base card learns faster. Not to mention, your admin team can spend less time creating the tutorials and won’t have to answer as many follow-up questions.
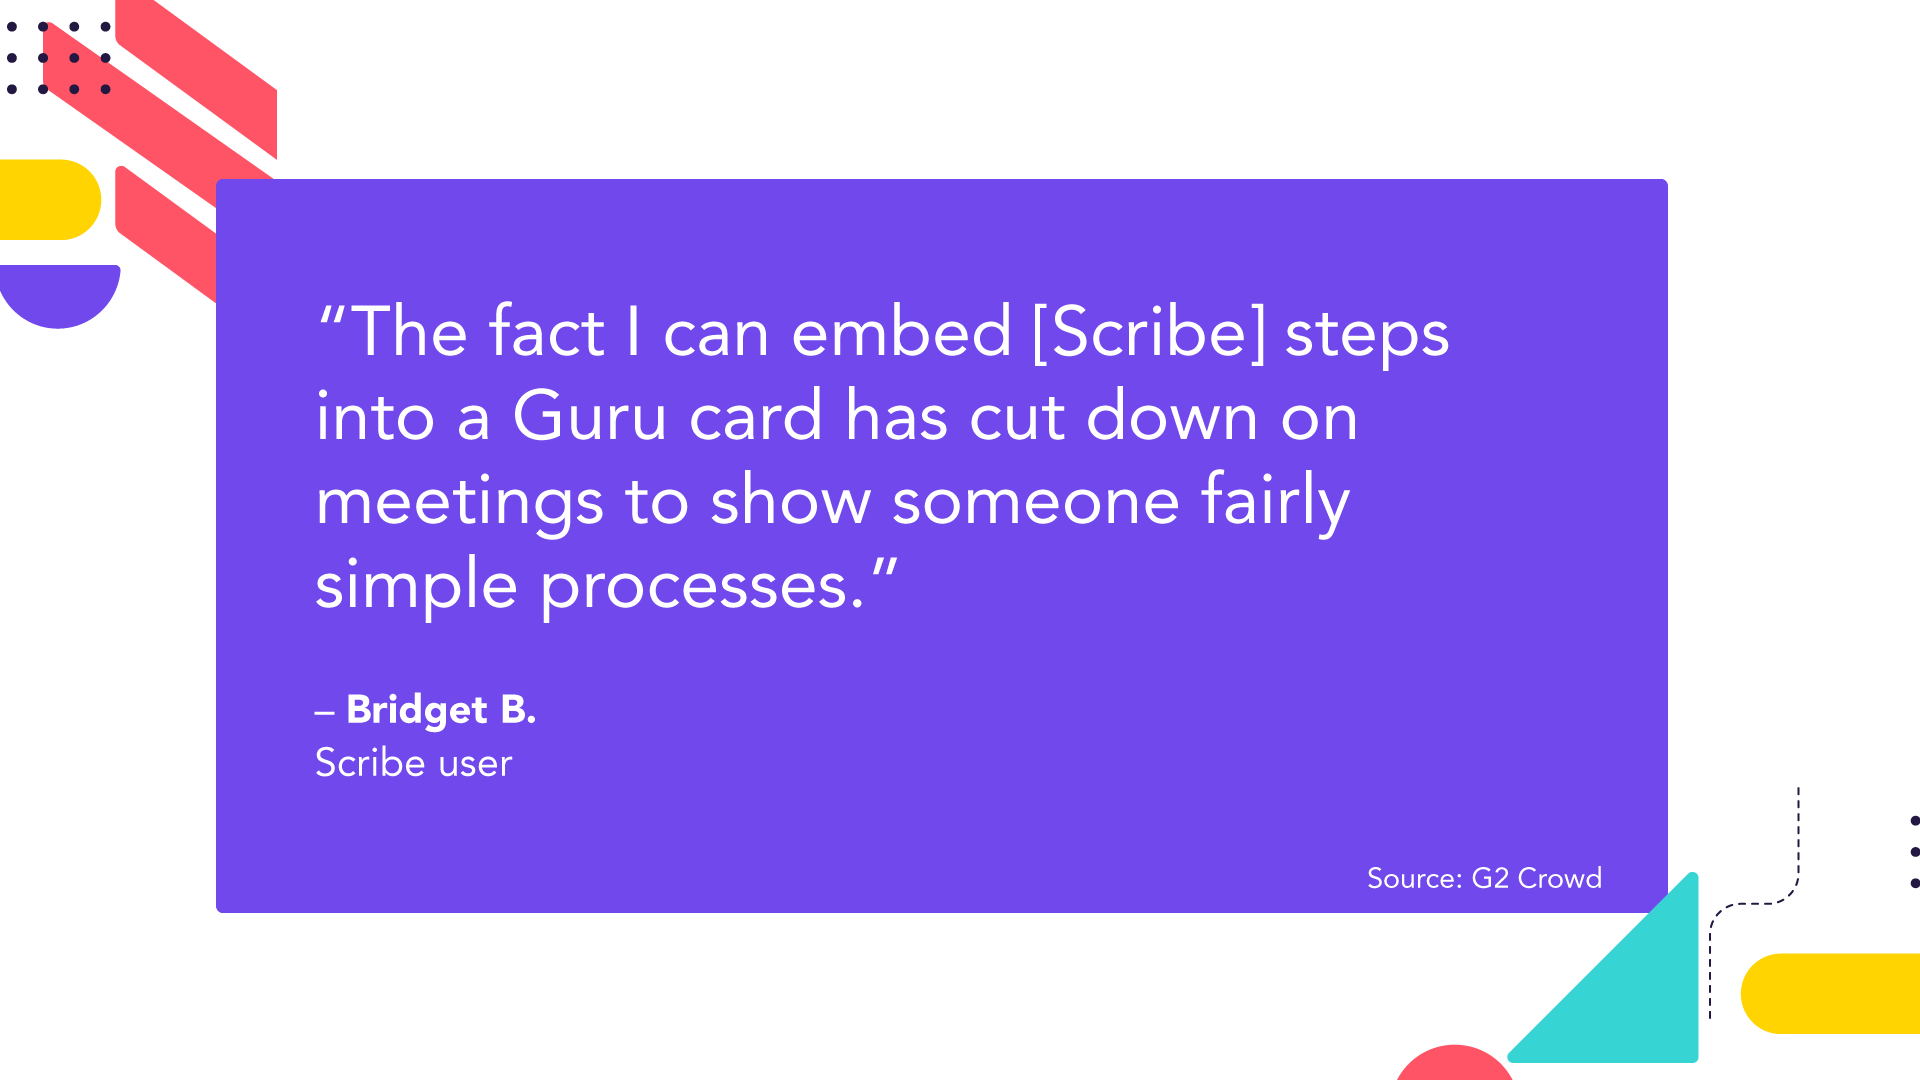
As Scribe user Bridget B. explains in their testimonial, “The fact I can embed [Scribe] steps into a Guru Card has cut down on meetings to show someone fairly simple processes.”
Whether you use Scribe for customer support or onboarding new hires, they can create a much more seamless experience for the learner while also saving your admin team valuable time.
How to set up Guru’s Scribe integration
So, how do you get the two platforms to work together? The good news is they both offer easy integrations. Guru integrates with Scribe, allowing admins to add Scribes to relevant Guru Cards in just a few steps.
The main feature you’ll use to add Scribes to Guru Cards is Scribe’s Smart Embed.
The Smart Embed feature lets you create an iframe of any Scribe on a variety of other platforms.
The best part?
There’s no complicated setup that needs to happen, such as copying and pasting API keys. Plus, you can use Smart Embed with any platform that lets you embed code. For instance, you can embed Scribes into Guru, Zendesk, Notion and even WordPress blogs in just a few clicks.
How to add Scribes to Guru Cards with Smart Embed
You can add Scribes to your Guru Cards in two main steps using Scribe’s Smart Embed feature. First, you need to access the embed link on Scribe. Then, you want to go to Guru and add that link in the correct place.
Here’s how it works.
Step 1: Find the Scribe embed link
- Log in to Scribe and find the Scribe you want to embed.
- Select Share.
- Select Smart Embed.
- Get your Smart Embed snippet.
- Click Options to customize.
- Select Copy Embed Snippet.
Step 2: Embed the Scribe into your Guru Card
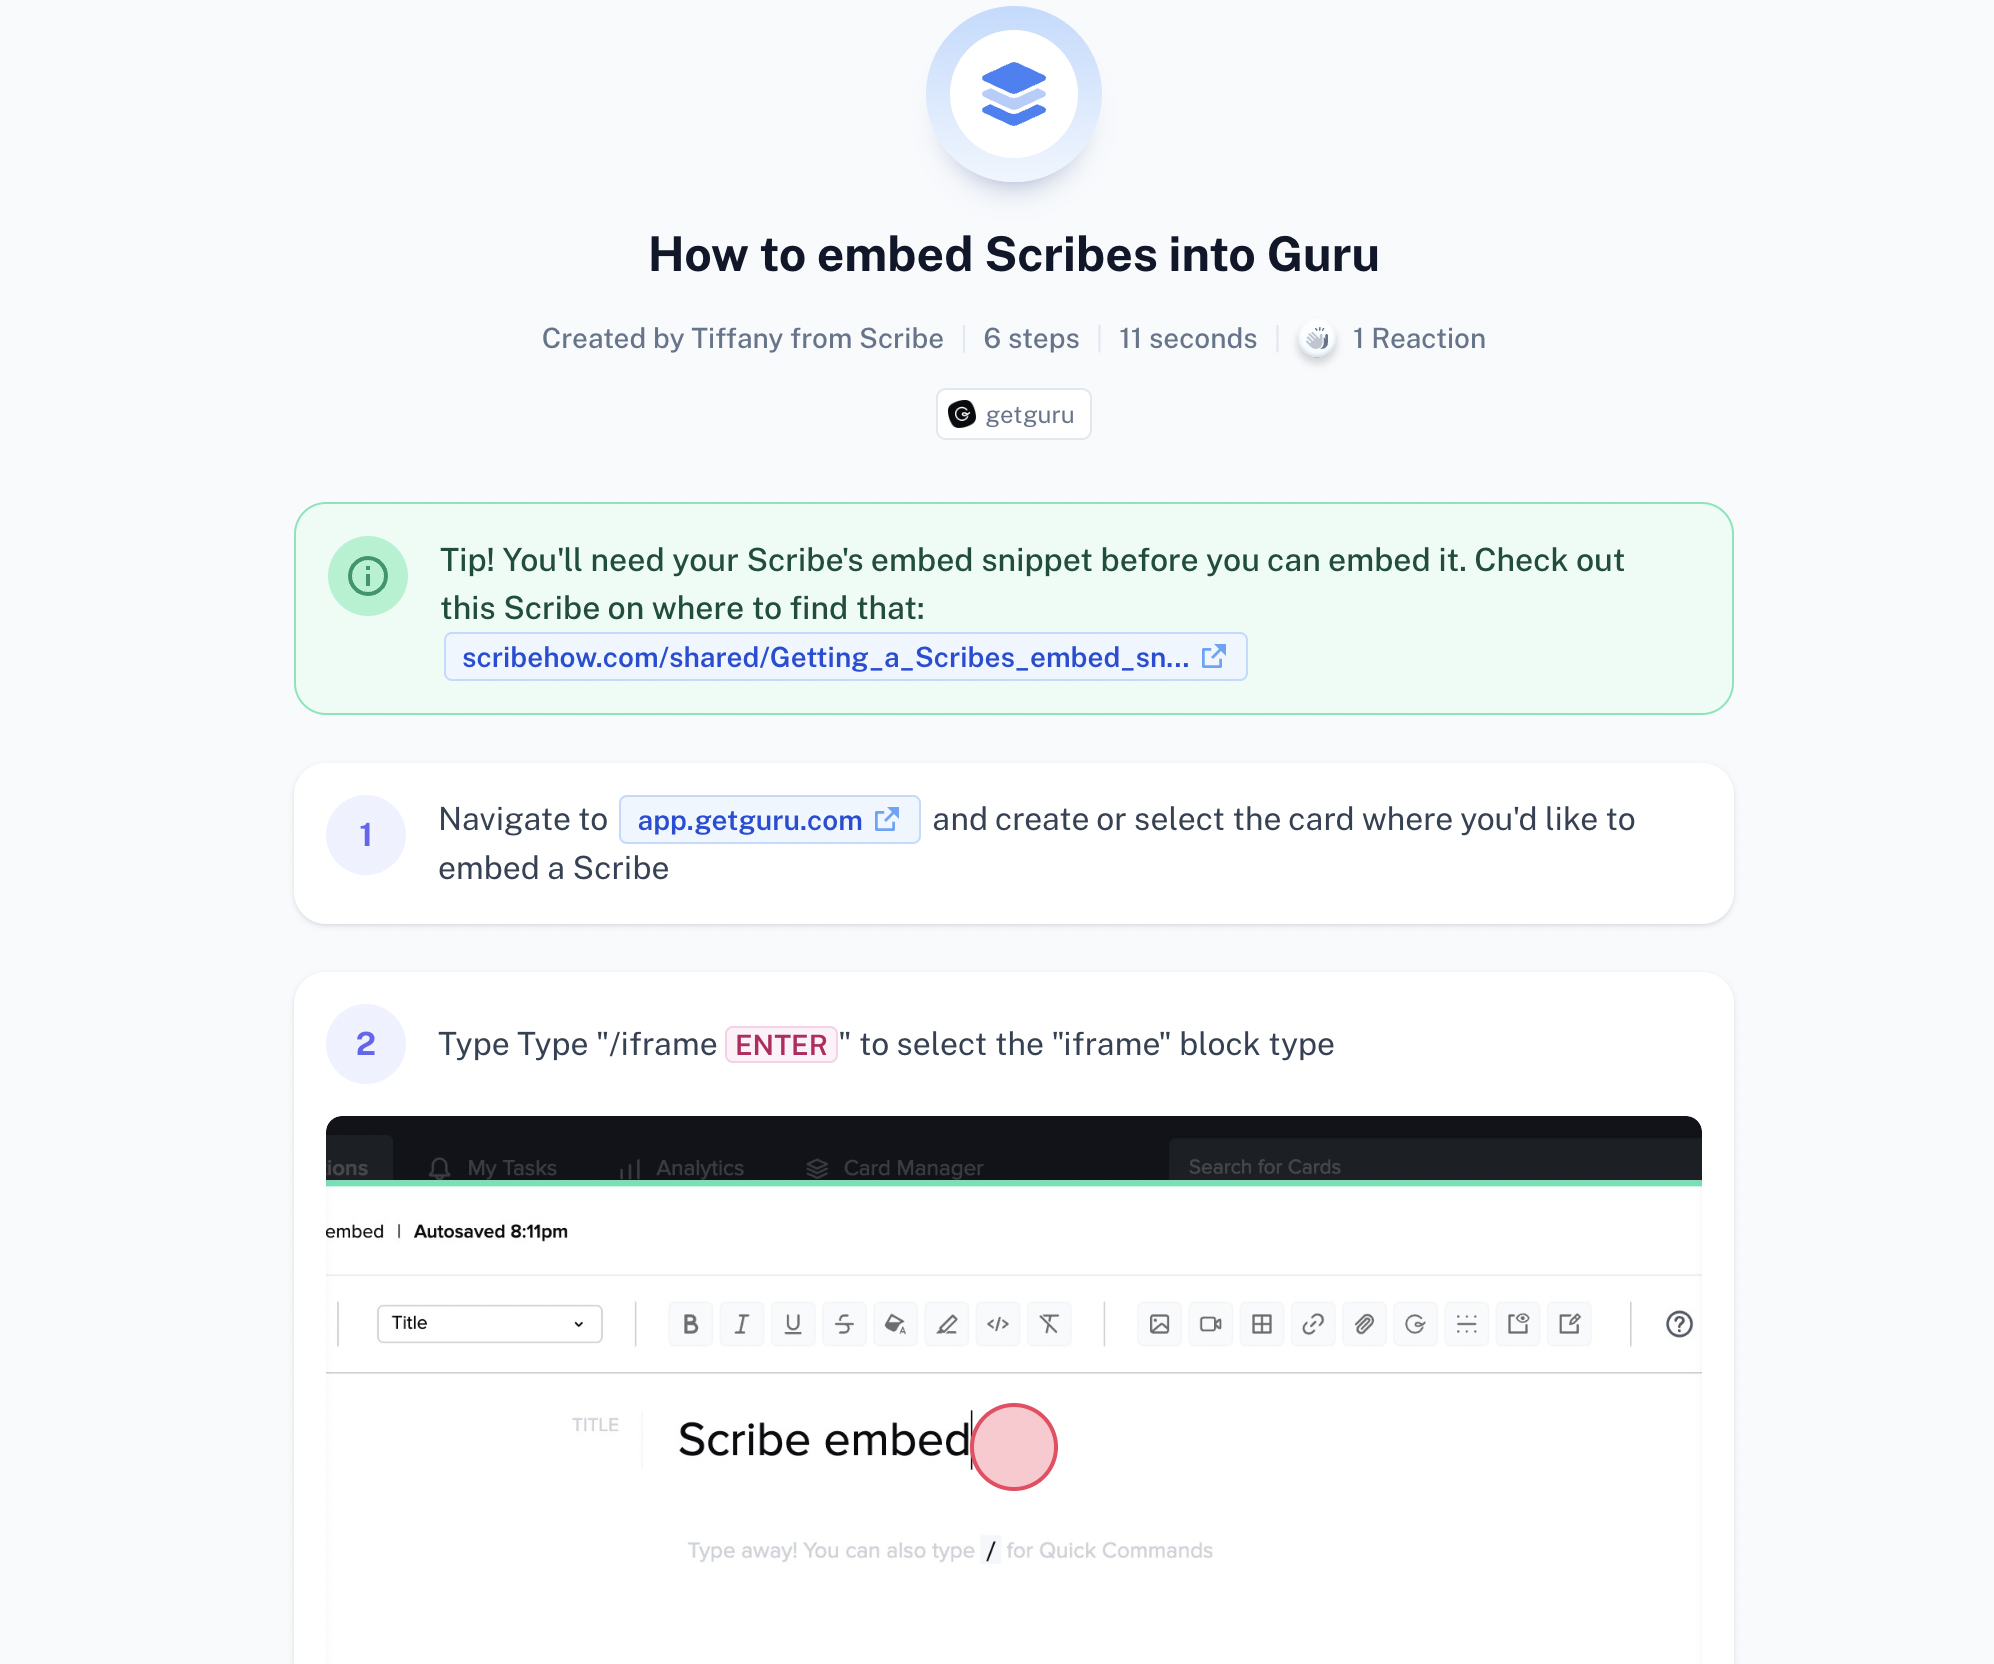
- Log in to Guru and find the Card you want to add the Scribe to or create a new card.
- Select the iframe icon or type "/iframe [[enter]]".
- Paste the Embed Snippet you copied.
- Click the Check icon.
- Resize the embedded block.
Final thoughts: How to use Guru with Scribe screen capture guides
In many ways, using Guru and Scribe together gives you the best of both worlds.
For admins and internal support teams, both tools help save time while answering your team’s frequently asked questions and creating the knowledge base.
For knowledge base users, Guru makes information accessible and easy to find, while Scribe provides step-by-step digital tutorials that are easy to follow. If you’re ready to get started, create your first Scribe today.

