Scribe’s Chrome screen recorder automatically outlines any processes you perform in the browser window. This lightweight approach lets you create detailed instructions without the hassle of video editing. As a result, you get a usable tutorial in seconds instead of hours.
Scribe’s Chrome Screen Recorder
To create a guide with our Chrome extension, all you need to do is click Record and walk through the process you want to document. Scribe automatically takes screenshots and writes the tutorial for your process. This saves valuable time you would have spent scrubbing through recordings and saving video stills.
Why Scribe Is the Best Screen Recorder for Chrome
Scribe’s screen recording extension automates the documentation process, which saves you hours of manual writing. Our platform also gives you complete control over each document, letting you touch up instructions, add new screenshots and revise guides to match your branding.
Here are a few reasons to try Scribe for Chrome.
Easily Access the Chrome Extension
Scribe’s Chrome extension sits to the right of the search bar at the top of your browser window, so it’s only a click away. When you’re ready to document a process, simply tap the logo, and the platform will start recording.
Once you’re done, you can access the Scribe straight from the sidebar. This lets you keep process instructions open as you work in a browser, even if you switch tabs.
Effortlessly Capture Your Process
Scribe’s screen recorder plugin takes the hassle out of creating tutorials. With the click of a button, it automatically generates step-by-step guides — no need for an expensive webcam or video editing software. This means anyone on your team can quickly document tasks, creating professional tutorials in minutes.
Make Fast Adjustments
After capturing your screen recording, you can adjust it to fit your needs. Quickly add or merge steps, insert tips and edit the text to suit whatever process you’re documenting.
With a Scribe Pro plan, you can even blur personal information and add your company’s branding. These features let you create tutorials that are on-brand and tailored to each team, perfect for consistent, useful documentation.
How To Screen Record in Chrome With Scribe: 6 Steps
Follow these instructions to use Scribe in your Chrome browser.
Step 1: Open Scribe and Enable Voice Recording

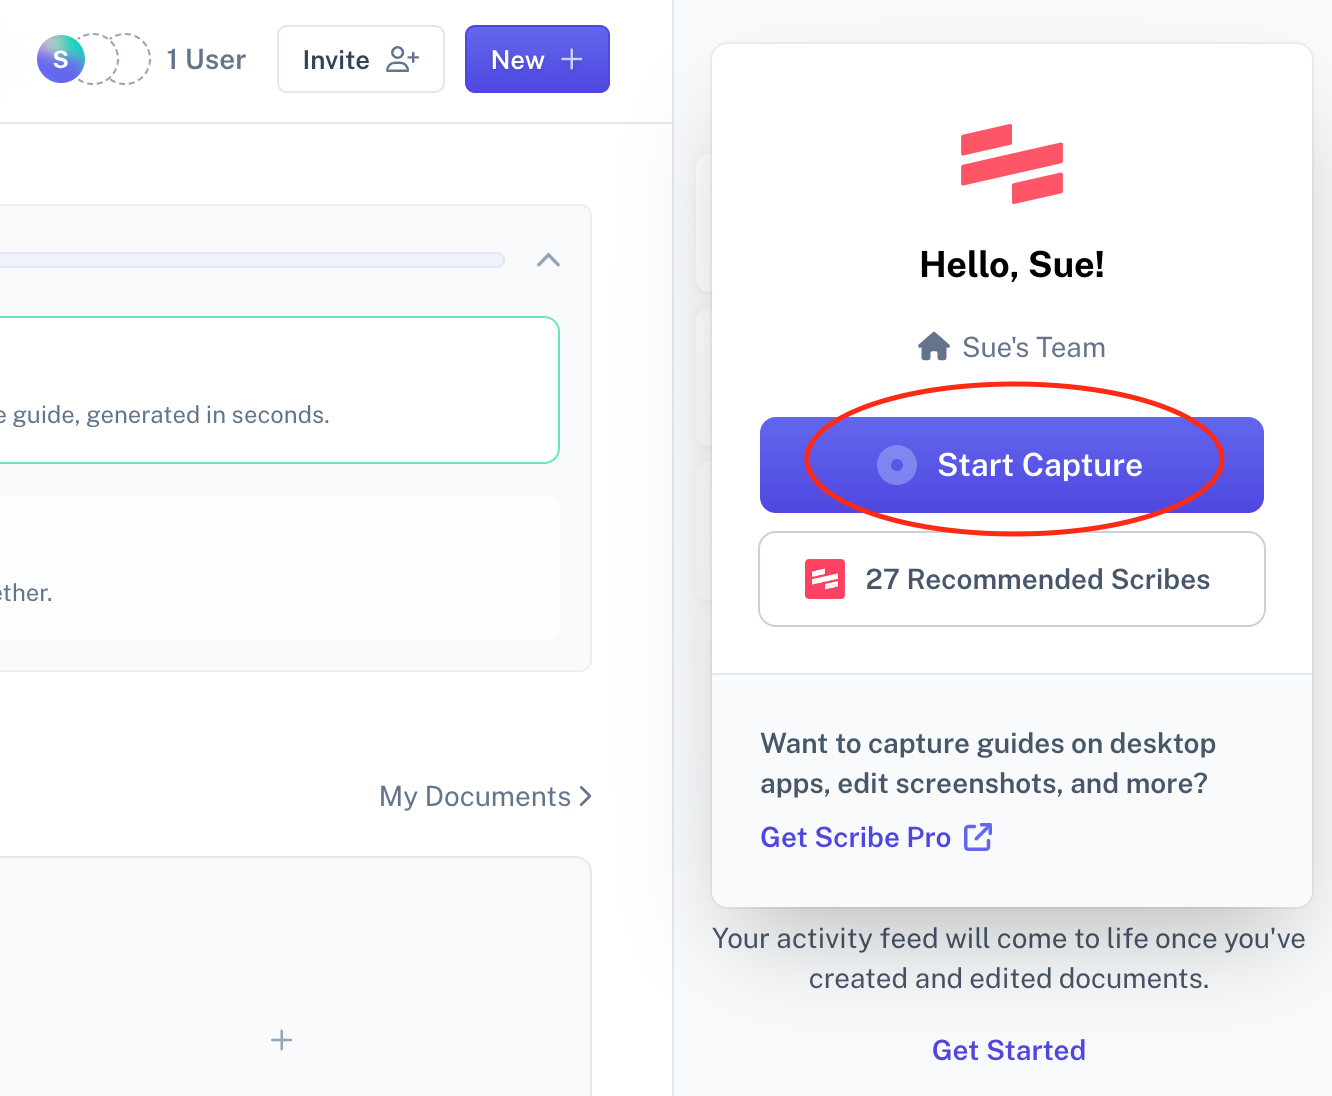
Download the Scribe extension from the Chrome Web Store and add it to your browser toolbar. Then, open it and click Start Capture to begin recording.
If you’d like, you can turn on voice transcription and explain tasks aloud before you complete them. Scribe’s speech-to-text technology will quickly transcribe what you say into the guide. But if you don’t have a microphone, no problem — our platform can create an in-depth resource without spoken directions.
Step 2: Complete Your Process

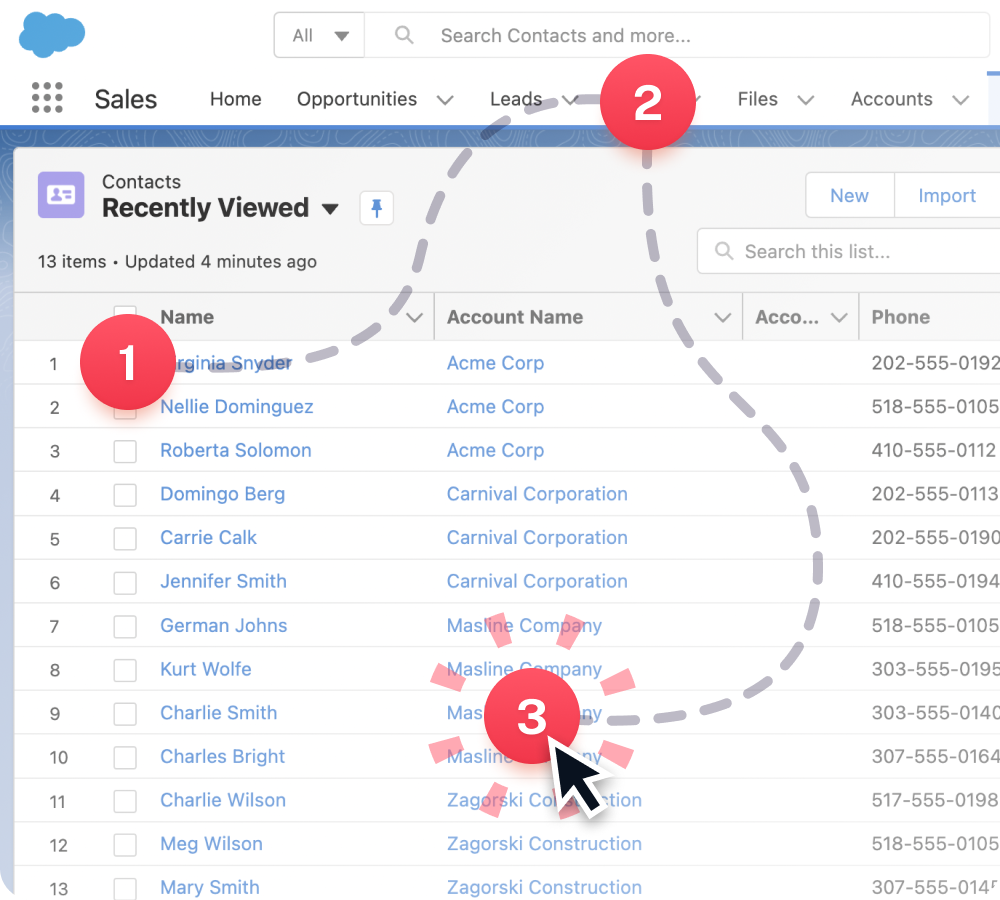
While enabled, Scribe monitors your mouse movements to look for anything it should document. As you click and type, the tool automatically captures screenshots and generates process instructions.
Step 3: Stop Screen Recording

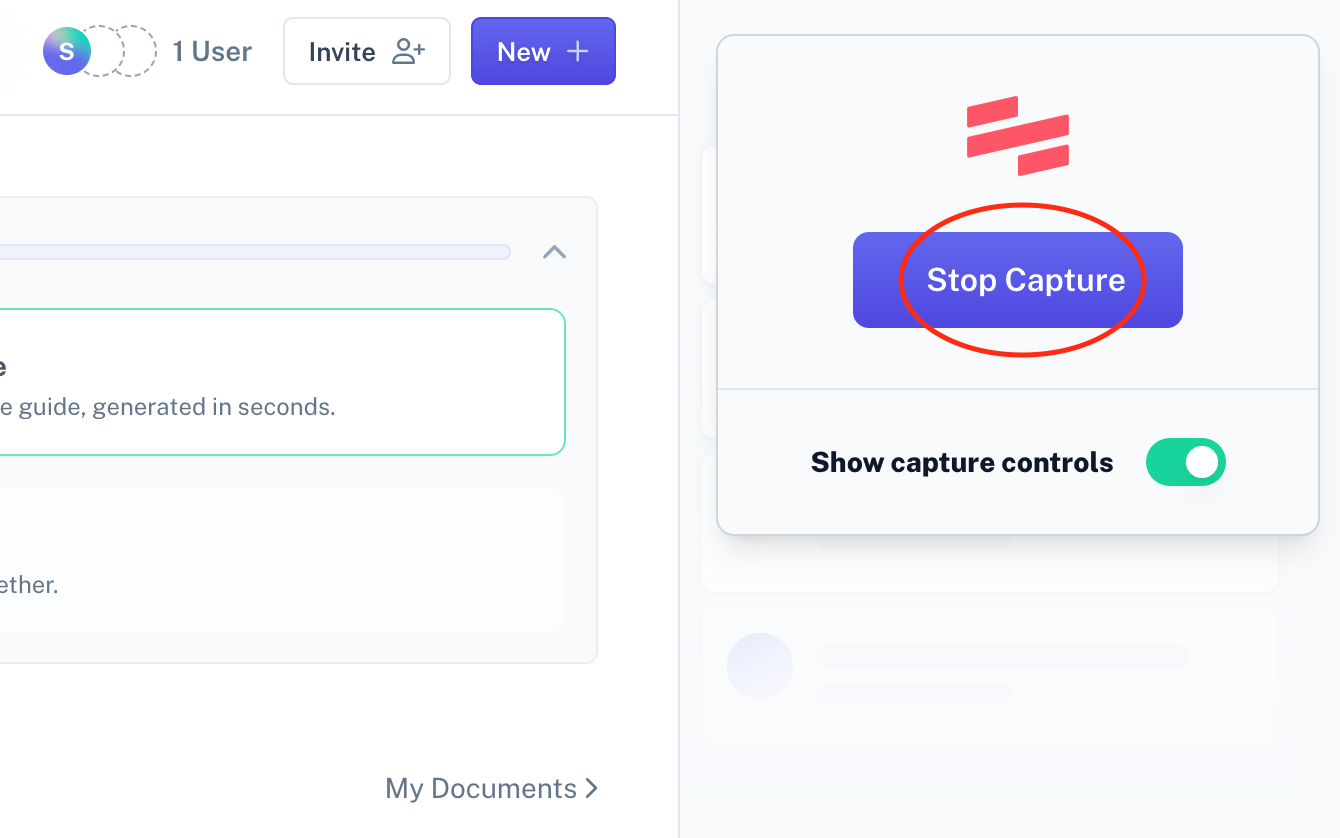
After completing your process, click Stop Capture in the extension window to end the session. Scribe will quickly assemble the screenshots and instructions into a detailed guide.
Step 4: Customize Your Scribe

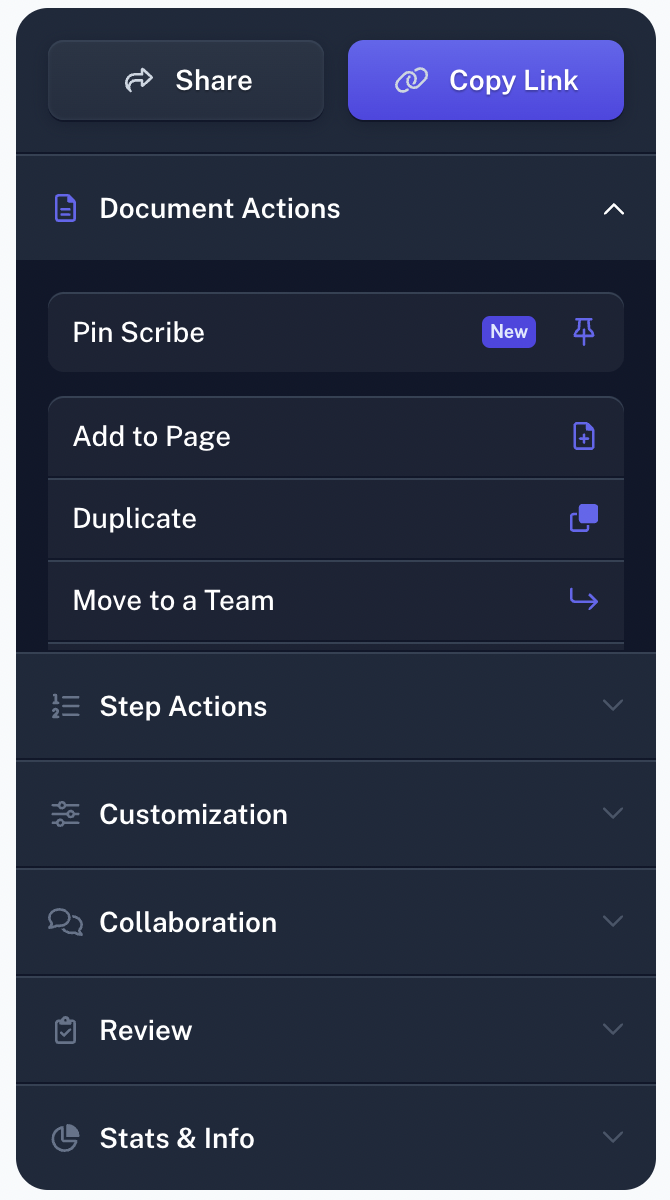
A sidebar will appear — use this to edit your Scribe by removing unnecessary steps or inserting additional tips. You can also configure the document’s settings to allow colleagues to collaborate with you.
Step 5: Share Your Screen Recording

Click the Share button to select how you’d like to send your Scribe to readers. Here are a few options to choose from:
- Send a link to your Scribe.
- Embed your document into your chosen platform.
- Export the guide as a PDF, HTML or Markdown file.
Step 6: Update Recordings as Needed

Open the editor to insert new steps, add screenshots or change tutorial instructions as needed. Since your Scribes are uploaded to the cloud, all your changes appear in real time. So, the next time anyone accesses your document, they’ll see the most up-to-date information.
Use the Best Screen Recorder for Chrome
The best way to capture processes in your Chrome browser is with Scribe. Our screen capture extension offers all the tools you need to create practical, actionable process instructions without video editing.
Sign up and download the free screen recorder extension for Chrome to get started.
FAQs
Does Chrome Have a Built-In Recorder?
No — to get a screen recorder on Google Chrome, you’ll need to download an extension from the Chrome Web Store. Several options are available, but most record video and output large files that are hard to edit and store. Scribe is the best option because you won’t need a webcam or video editing software to turn recordings into useful tutorials.
How Do I Record My Screen?
Many systems offer native screen recording tools, such as the Windows game bar, Chromebook screenshot tool and Mac screen video recorder. But they suffer from the same shortcomings as many extensions: They output large MP4 files you’ll need to scrub through to find the screenshots you need.
To save yourself hours of editing, try Scribe instead. Our platform captures screenshots and generates tutorials seamlessly without recording videos.
Does Scribe Record Video?
No, Scribe doesn’t record video, making the documentation process faster than ever. It's a screen capture tool that automatically outlines tasks you complete in your browser. Then, it generates a finished, detailed tutorial that’s ready to share.
Can I Record My Entire Screen With Scribe?
Yes — with a Scribe Pro subscription, you can capture your entire screen, from file explorers and toolbars to browser windows and applications.
Is Scribe Free?
Yes! Scribe is completely free to use. Unlike many other tools, you don’t need credits to generate AI text or pricey subscriptions just to sign up. The free plan gives you full access to the Chrome screen recorder and lets you generate instructions right from your browser window.
But if you want to remove the Scribe watermark or access additional features, you can upgrade to a Scribe Pro plan.


