Free Windows Screen Recorder
Tired of struggling to capture and share your Windows screen activity?
Easily capture your Windows screen to build annotated, visual guides.
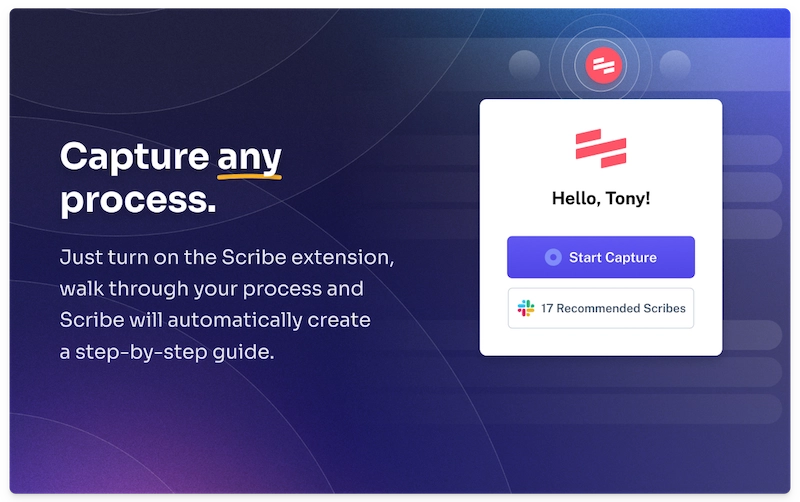
Record your computer screen activity at the click of a button with this easy-to-use screen capture tool. Scribe auto-generates a step-by-step guide including:
- AI-powered text and descriptions.
- Clickable links to web pages.
- Full-size screenshots with annotations and clicks.
Scribe: The Ultimate Windows Screen Recorder
With Scribe, you can do so much more than simple screen recordings. Here's why millions of teams are choosing Scribe as their favorite Windows screen recording software.
Here's why:
1. Effortlessly Record Your Windows Screen
Why is Scribe the best screen recording software? It's simple — with Scribe, you can capture screen activity and share visual guides — fast.
Capture your Windows screen activity the easy way. At the click of a button, Scribe records your PC screen as you go through your process. When you're done, Scribe generates your step-by-step guide.
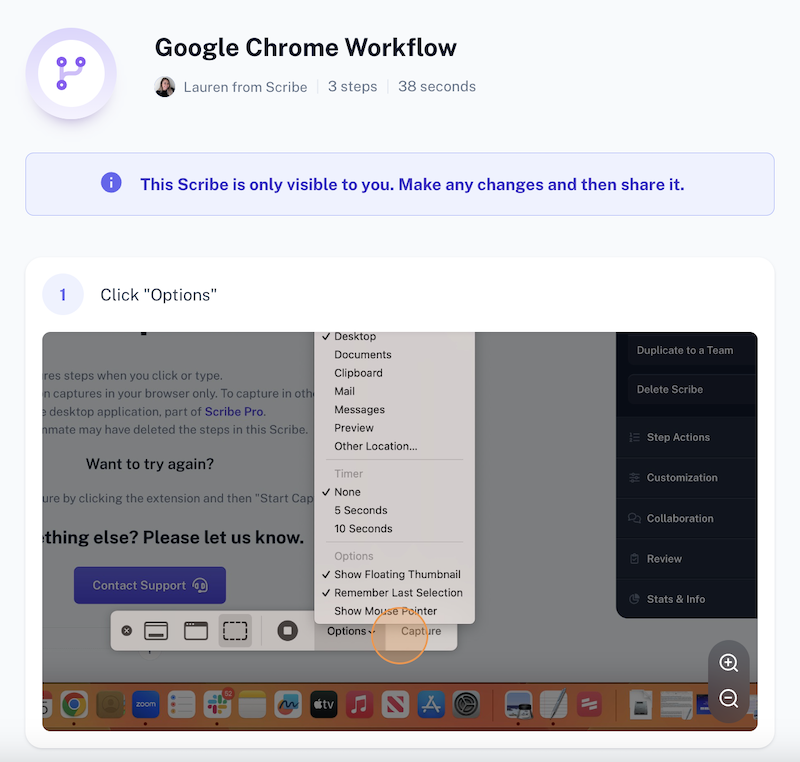
Capture your PC screen activity in real time, making even complex actions easy to understand.
2. Build Step-by-Step Guides in Seconds
Scribe's free screen recorder tool creates guides that you can easily update and customize.
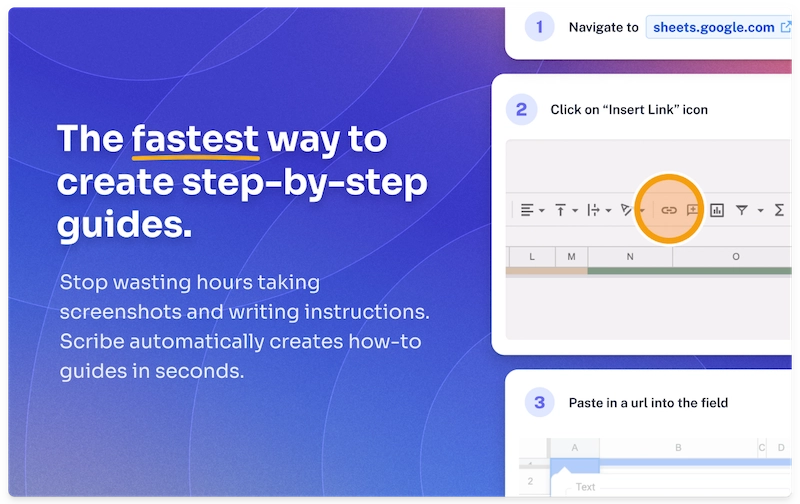
Use Scribe's Windows screen recorder to instantly create guides for:
- Tutorials and how-to guides.
- Gameplay.
- Software demonstrations.
- Tools and product walkthroughs.
- Capturing bugs, glitches or errors.
- Troubleshooting guides.
- Customer support.
- Standard operating procedures.
3. Streamline How You Share Your Screen
Scribe transforms your PC screen recordings into easily shareable content. Scribe's free screen recorder empowers anyone to record, edit and share screen activity in seconds.
Transform your computer screen recordings into easily shareable content with Scribe's intuitive and user-friendly interface.

Record PC screen activity and share through:
- A quick sharable link.
- Easily embedding HTML into a knowledge base or other platform.
- Exporting into PDF or Markdown (Pro).
Start Recording Your Windows Screen!
It's simple to get started with Scribe's Windows screen recorder tool — just log in and install the Scribe browser extension to get started.
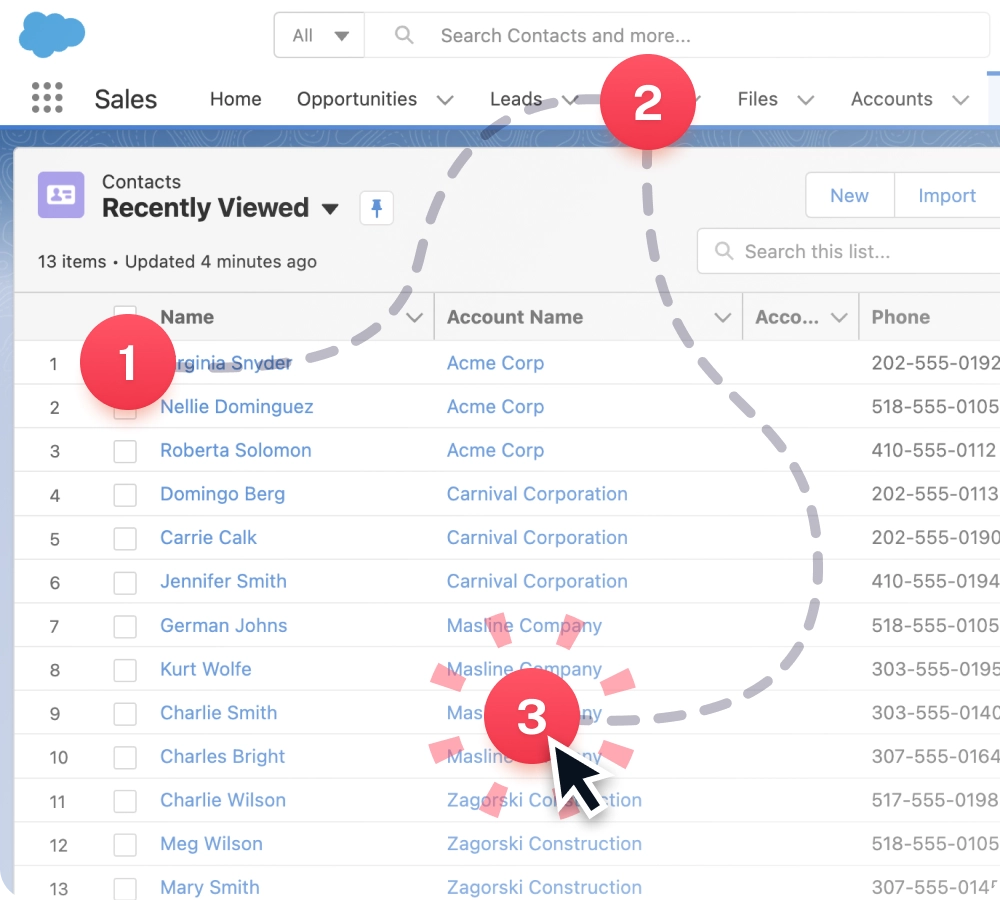
If you're looking to capture your entire screen, sign up for Pro or Pro Teams and download the screen capture tool to your desktop computer.
Here's how you can use Scribe's screen capture software.
Step 1: Start Recording
Select the Windows screen activity you want to record. To begin recording, launch Scribe's intuitive interface to start the screen capture.
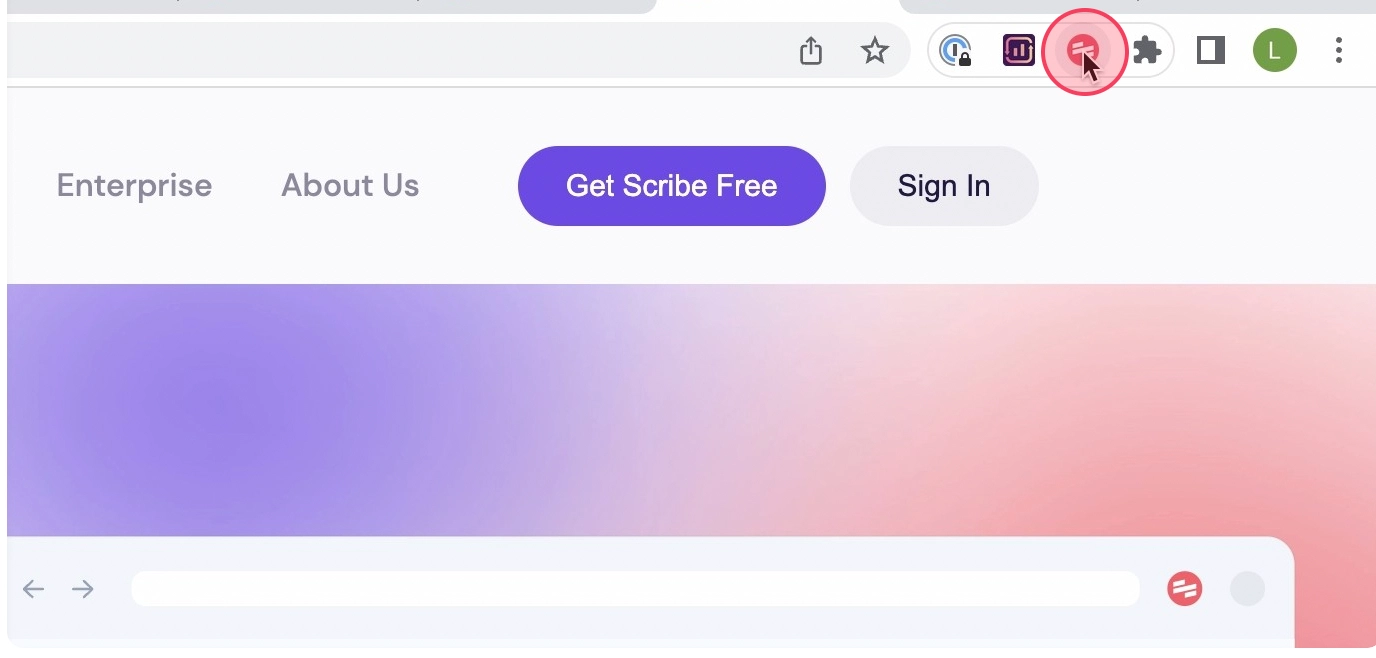
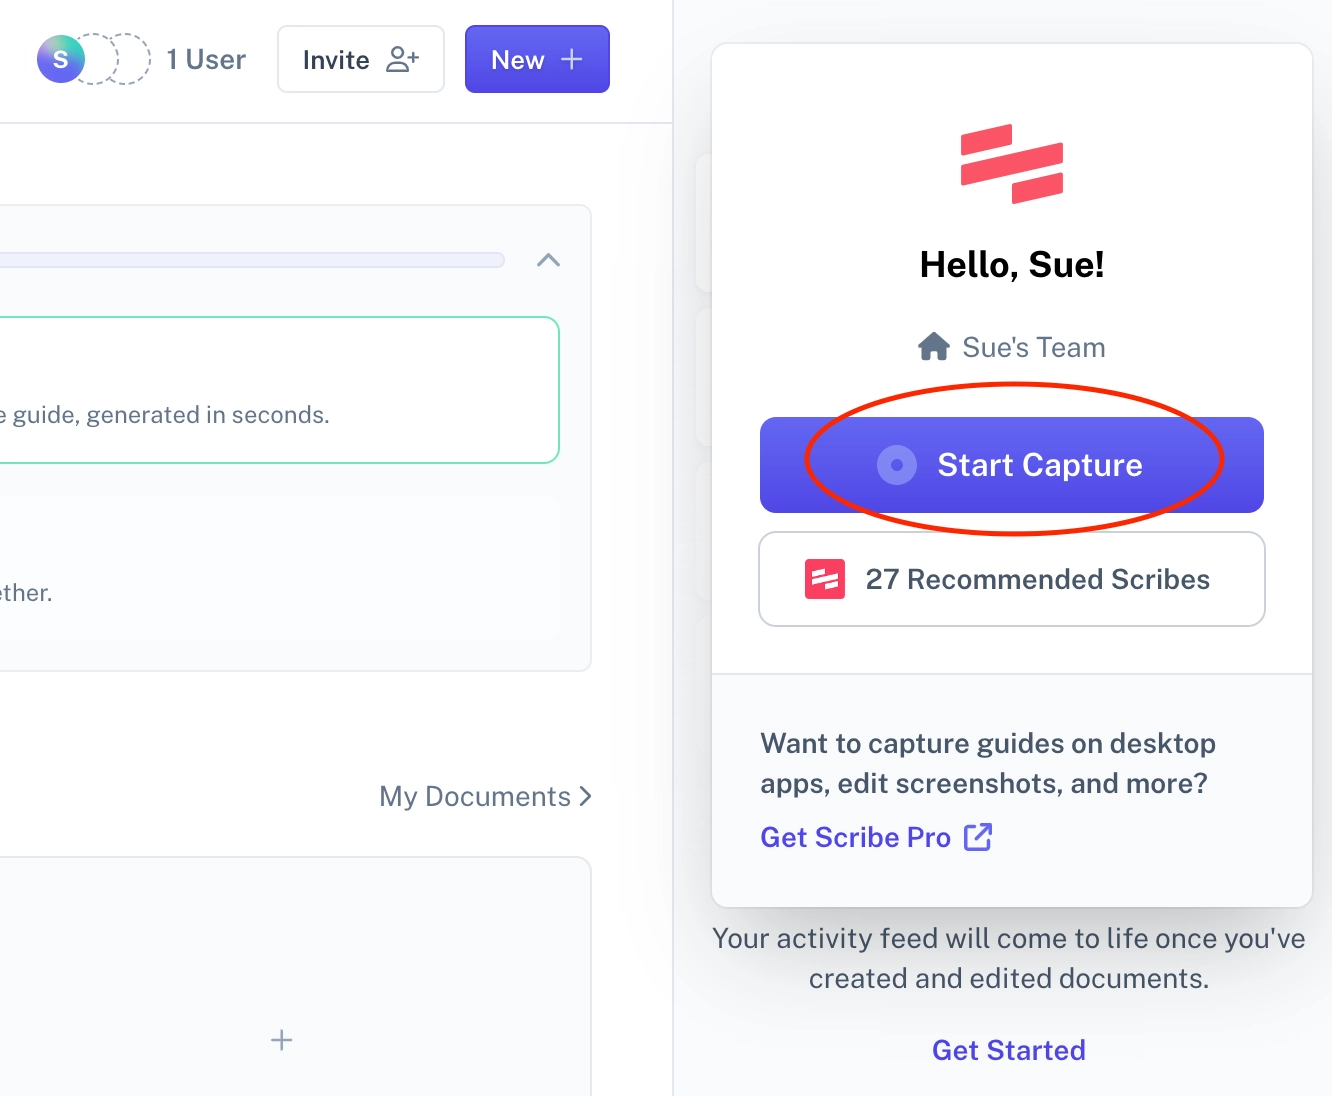
Click "Start Capture" and go through your process as usual.
Scribe automatically captures screenshots and text based on your screen activity.
Step 2: Stop Recording & Watch Scribe Create a Guide
When you finish recording, click the "Stop Capture" button at the top of your screen to stop recording.
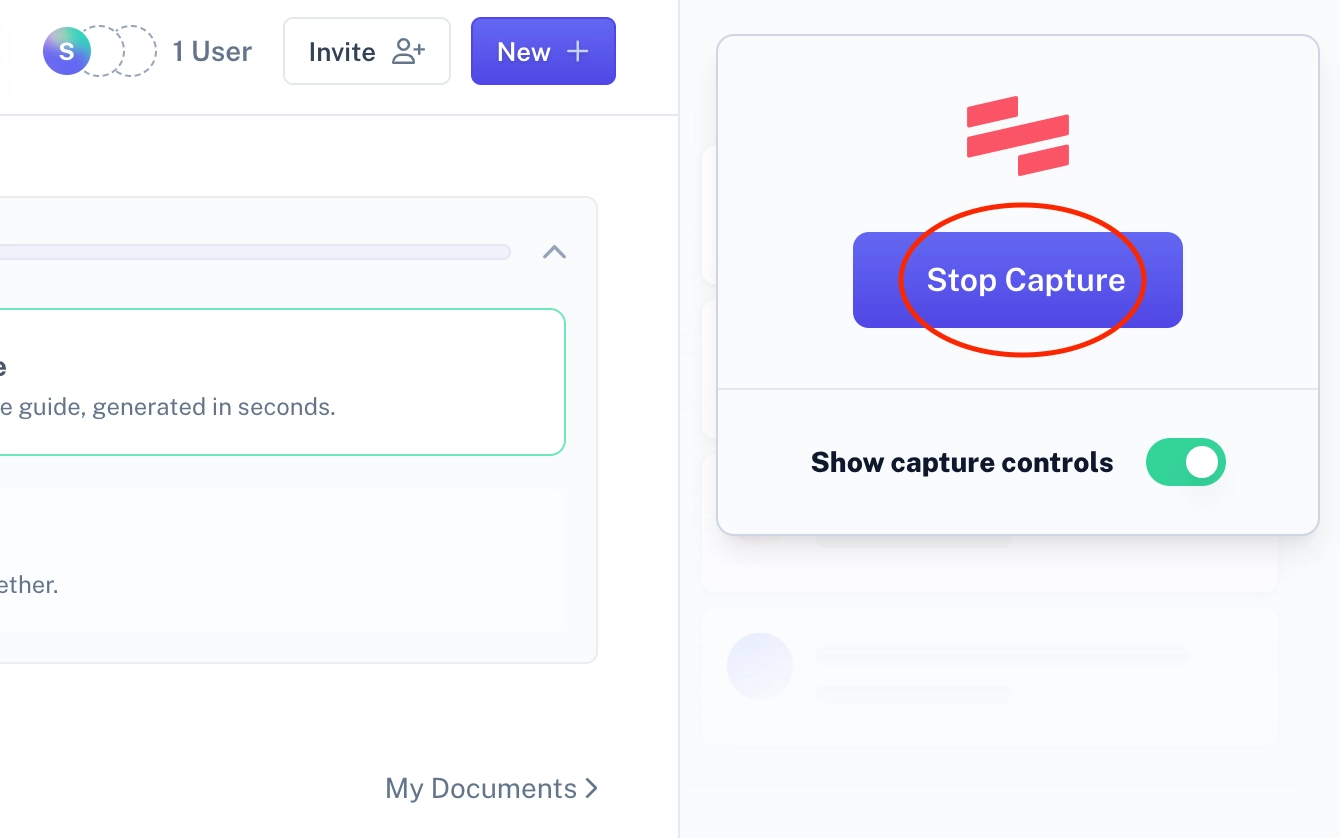
In seconds, Scribe creates a step-by-step guide with links, text and annotated screenshots.
Step 3: Edit & Customize
Now that you've recorded your screen activity, you can customize your guide.
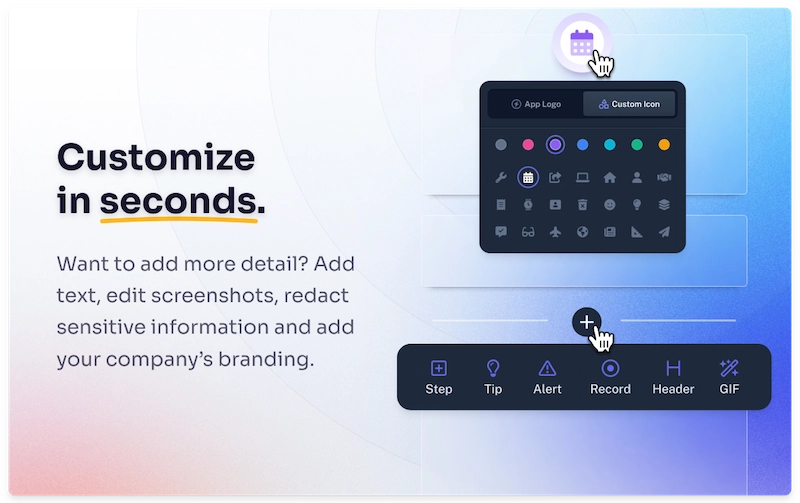
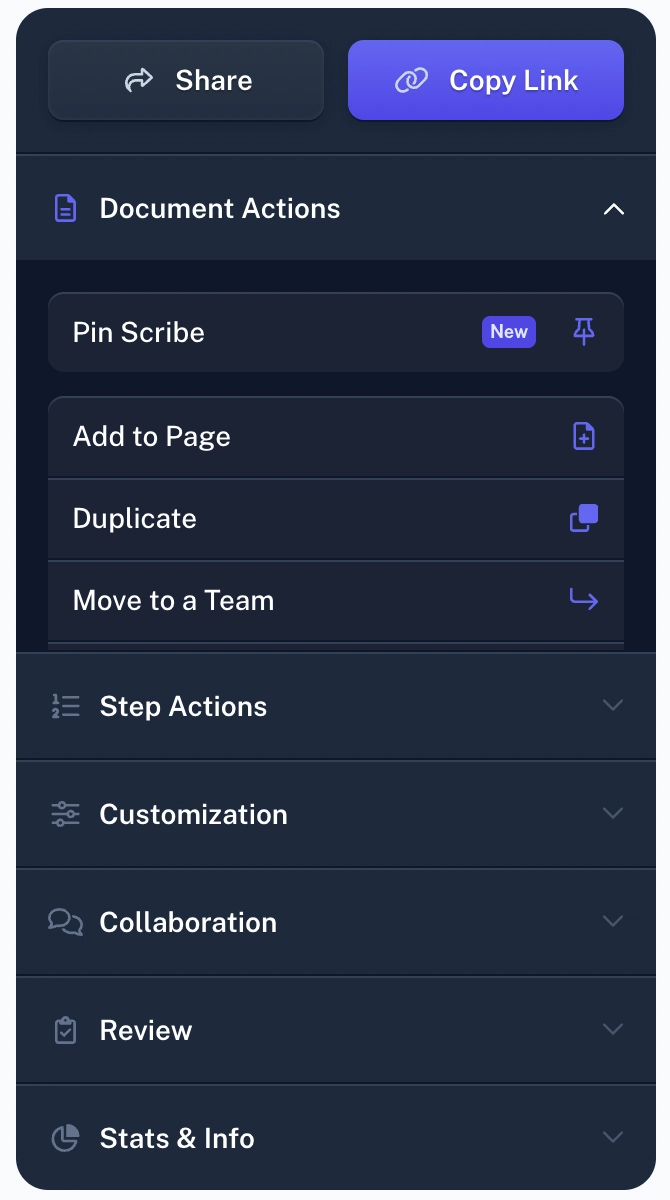
Use the sidebar to:
- Add AI-powered descriptions and a table of contents.
- Edit, remove or add text.
- Add additional alerts, tips and tricks.
- Merge steps to create GIFs.
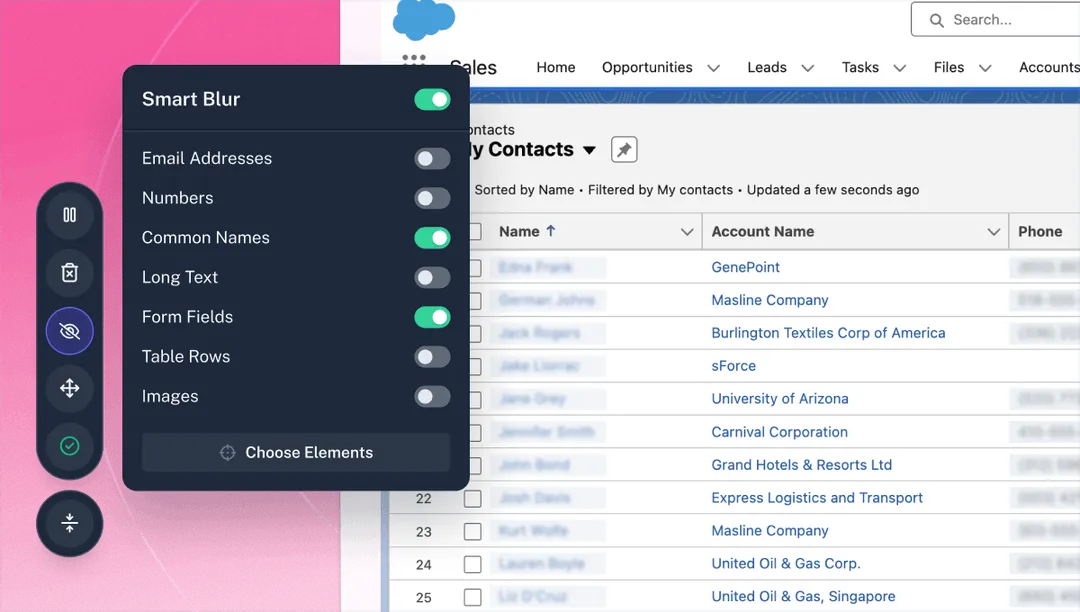
With Scribe Pro and Teams Pro, you can directly edit your screenshots:
- Annotation tools: Add text callouts, pointers, and captions.
- Highlights: Add arrows, shapes, and freehand drawings to draw attention.
- Image blur & redaction: Use Smart Blur to protect sensitive information.
Step 4: Build Larger Docs with AI
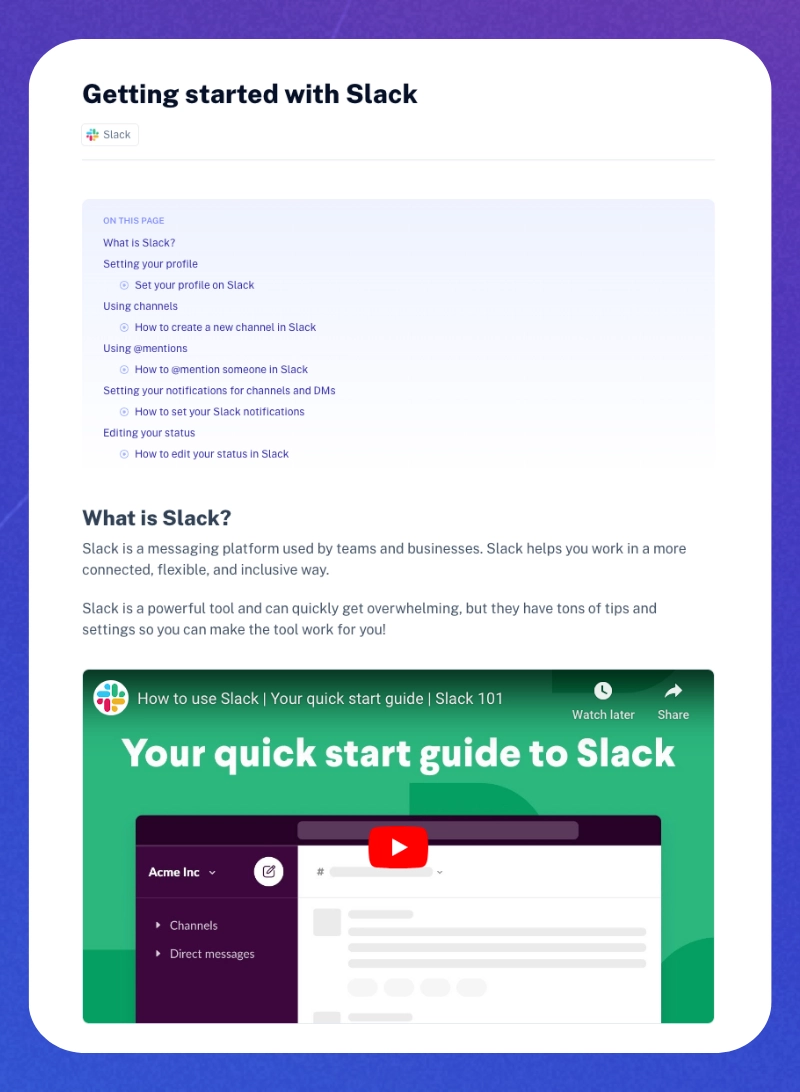
Want to build out a more extensive guide? Use Scribe Pages to combine multiple guides with text, video, images, and GIFs. Then, let AI do the rest!

Scribe Pro and Teams Pro offers you the tools to perfect your content:
- Trim unnecessary steps or sections.
- Highlight key steps.
- Incorporate additional context.
- Add text overlays or callouts to emphasize important details.
Step 5: Share With One Click
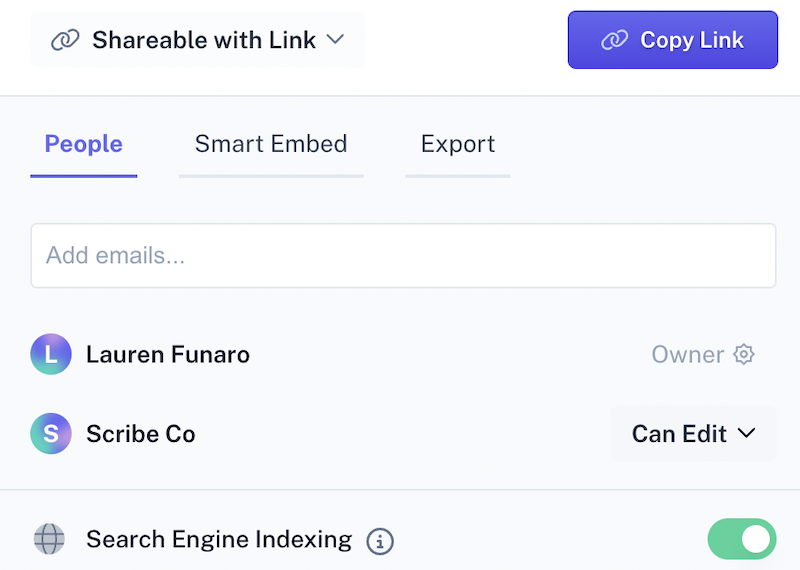
Easily share the visual guide with your team, customers or family with one click.
- Use a sharing link for easy access.
- Export your guide in multiple formats, including PDF, HTML or Markdown.
- Use Scribe's platform to distribute your guides.
- Embed your guide into your preferred platforms for seamless integration.
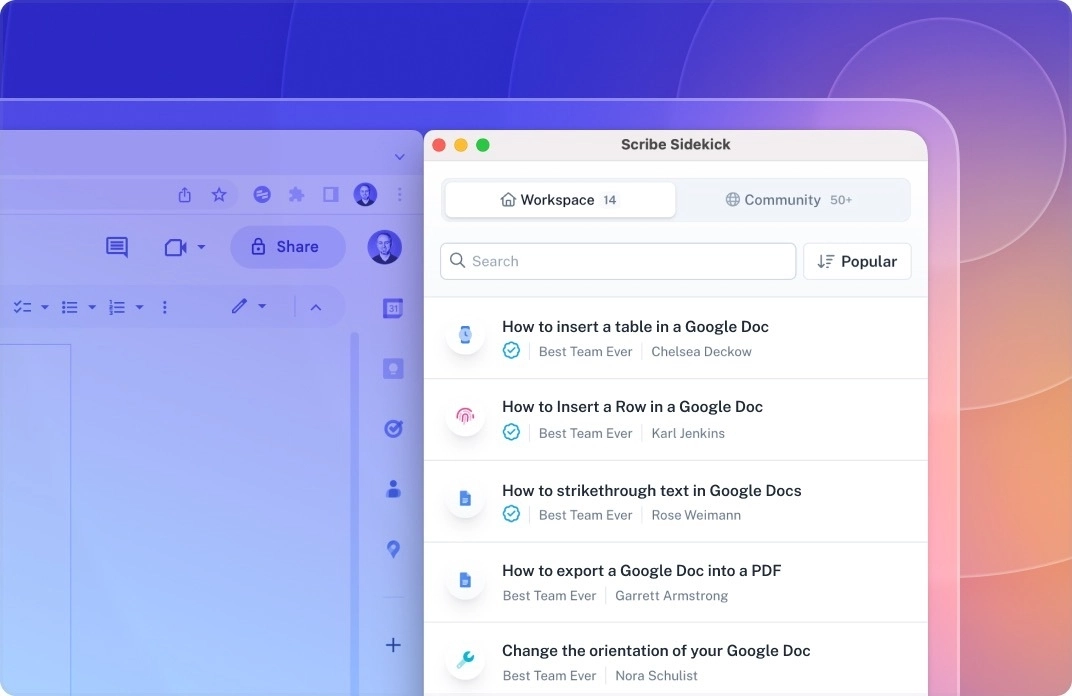
All team members with login credentials can open the reader view on Scribe Sidekick, which immediately gives them access to any guide for the web page open on Edge or Google Chrome.
Users can scroll screenshot guides to find and automatically save a guide for any process.
Why Use Scribe's Windows Screen Recorder?
With Scribe, you can quickly and easily transform your full-screen recordings into visual guides.
Here are just a few ways you can use your Windows screen recordings:
- Record walkthroughs of websites and web apps.
- Create tutorials for online courses or training materials.
- Demo new features or product walkthroughs.
- Build troubleshooting guides for common problems.
- Train customers and create a customer support knowledge base.
- Capture issues and bugs encountered on websites.
- Record your experience for usability testing.
- Provide remote technical support.
- Create step-by-step guides for procedures.
Scribe's key features
Use Scribe's powerful screen recording tools to:
- Capture any browser or desktop computer process with one click.
- Blur and redact sensitive information from screenshots (Scribe Pro).
- Begin recording to auto-generate step-by-step guides with text, annotated screenshots and clicks.
- Scribe's GPT-4 AI auto-generates text and titles for you.
- Easily edit to add alerts, tips and tricks, and update steps.
- Combine multiple guides with text, video, and images with Scribe Pages.
- Capture your entire screen with the desktop application.
- Send a sharing link or use the Smart Embed feature to embed guides into your documentation.
- Scribe integrates with 1000s of tools like SharePoint, Notion, and Confluence.
- Export to PDF, HTML or Markdown.
- Add teammates to your workspace so they can take advantage of some amazing Team features, like Scribe Sidekick.
Learn more about what you can do with Scribe!
- Browser Screen Recorder
- Step Recorder Software
- Desktop Capture
- Full Page Screen Capture
- Mac Screen Recorder
- Free Tutorial Builder
- Free Manual Creator
- Free SOP Generator
- Free Documentation Generator
- Free Screenshot Generator for Process Documentation
Looking for free templates to get you started? We've got you covered!
- Free Help Desk Templates
- FAQ Page Templates and Examples
- How to Create a Customer Service Knowledge Base (+ Free Templates)
- 15+ Step-by-Step Guide Templates & How to Create One
- How to Create a How-to Guide + 8 How-to Tips
- 100+ Free SOP Templates: How to Write Standard Operating Procedures
Or check out these related resources we think you'll love!
- Best Screenshot Chrome Extensions
- How to crop a screenshot on Windows
- How to blur a screenshot
- How to edit a screenshot
- How to highlight a screenshot
- Best Screenshot Tools for Windows
- 10 Best Windows Steps Recorder Alternatives
FAQs
Does Windows 10 have a built-in screen recorder?
Yes, Windows 10 includes a built-in screen recorder called Xbox Game Bar. This feature is also available in Windows 11.
Does Windows 11 have a screen recorder?
Windows 11 includes a built-in screen recording feature called Xbox Game Bar.
- To access the screen recorder, press Windows Key + G to open the Xbox Game Bar.
- The Xbox Game Bar feature can also be used for general screen recording purposes.
Using Built-in Tools for Screen Recording on Windows 10 and 11
Screen recording on Windows 10 and 11 can be done using built-in tools like the Snipping Tool.
- In Windows 10, press Windows key + G to open the "Game Bar".
- To start recording, click on the "Record" button or use the keyboard shortcut: press Windows key + Alt + R.
- Enable audio recording by clicking on the "Microphone" icon.
- The recording is automatically saved in the "Videos" folder under "Captures".
In Windows 11, the Snipping Tool can be used for screen recording.
- To record, click the Start button, go to All Apps, and then click the shortcut for Snipping Tool.
- Select the area to record and click Start. The recording can be paused and resumed using the toolbar buttons.
- After recording, click the Stop button. The recording will start playing in a Snipping Tool preview window for editing and saving as an MP4 video file.
- You can configure the Snipping Tool system audio settings before starting the screen recording.
- The microphone input and system audio can be enabled or disabled during the recording.
Build powerful, visual instructional content in seconds with Scribe's Windows screen recorder tool.
Ready to get started? Record your Windows screen for free.


