There are several reasons why you might need a screen recorder for Chromebooks, such as creating tutorials or process instructions. While Chromebooks support a native screen recording tool, it’s pretty light on features. For increased functionality like automatic text generation and screenshot capture, use Scribe’s browser extension.
Why Use Scribe’s Free Chromebook Screen Recorder?
Scribe is the best screen capture tool for Chromebooks because it fast-tracks the knowledge-sharing process. Rather than outputting a large audio and video file like an MP4, our platform automatically turns what you’ve captured into an embeddable module called a Scribe. This resource includes screenshots and process instructions for every task you’ve completed in your browser.
Here are a few more reasons to try Scribe.
Record Your Screen Easily
There’s no learning curve with Scribe — all you’ll need to know is how to complete the task you’re recording. Our AI-powered platform will do the rest, automatically capturing annotated screenshots, generating process instructions and formatting them into an AI-generated guide.
No Video Editing Needed
Scribe doesn't record video or audio, so there are no large files to edit. Instead, our platform generates step-by-step guides instantly — no time-consuming editing required.
And once your guide is created, you can easily customize it by combining steps, adding instructions and editing image captions. This gives you complete control to fine-tune your instructions for your specific process and audience.
Share With Anyone
Share your Scribes anywhere by sending links or embedding them into other platforms like Confluence or HubSpot. You can also export your Scribes in a wide variety of formats, such as PDF, HTML or Markdown. These files are smaller than the bulky MP4 video files you'd get from recording audio and video, which makes them faster to download.
Continued Support
We’re committed to supporting our software long term. With Scribe, you can rest assured that the tool and everything you create with it will be around when you need it. And if you have any questions, our help center and customer support team are there for you.
How To Record Your Chromebook Screen With Scribe
Follow these step-by-step instructions to capture processes in your Google Chrome window and turn them into Scribes.
Step 1: Open Scribe

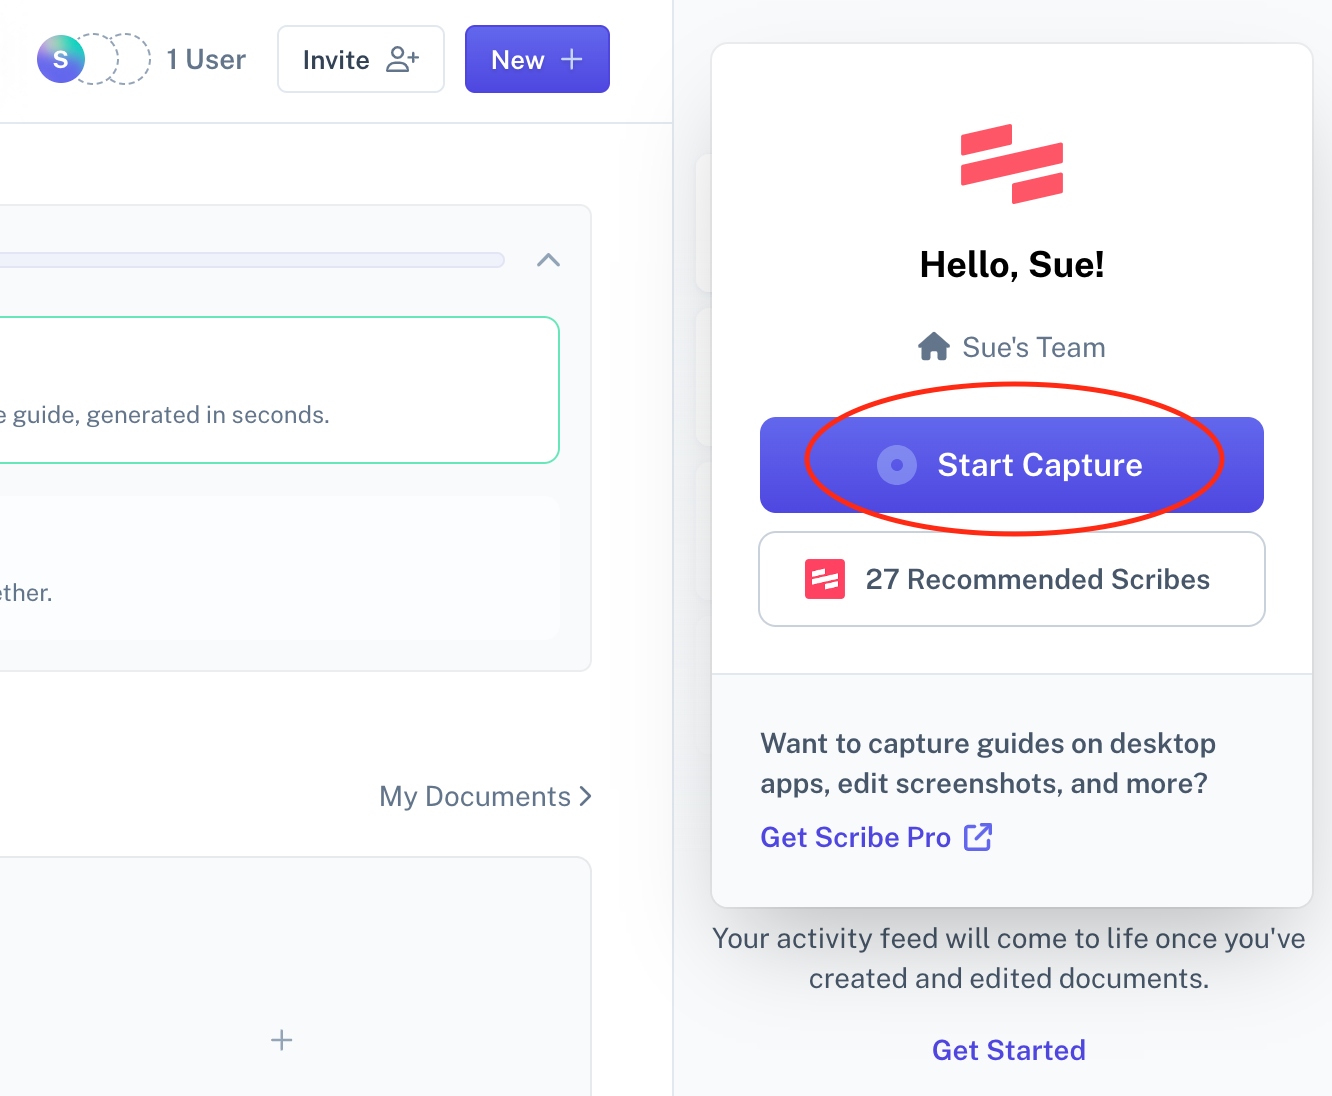
Download the Scribe Chrome extension from the Chrome Web Store and open it. Then, click the Start Capture button to begin recording. Walk through the process you’re documenting, and Scribe will automatically generate process instructions, capture screenshots and format guides accordingly.
Step 2: Stop Recording

Click the Stop Capture button to end your screen recording. The platform will spend a few seconds compiling the screenshots and instructions into a comprehensive Scribe.
Step 3: Customize Your Scribe

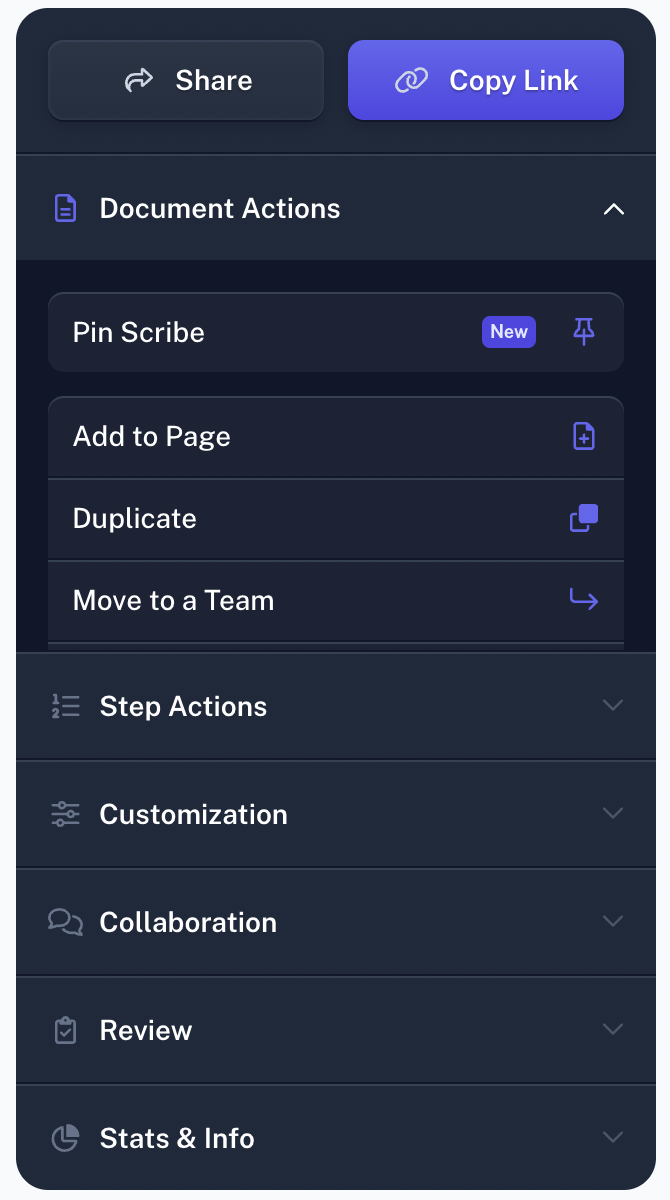
Use the sidebar that appears to fine-tune the Scribe for your needs. Add or remove text, insert tips and merge steps. With a Pro account, you can also redact sensitive information and highlight images.
Step 4: Share Your Scribe

Select a method to send your guide to colleagues or embed it elsewhere:
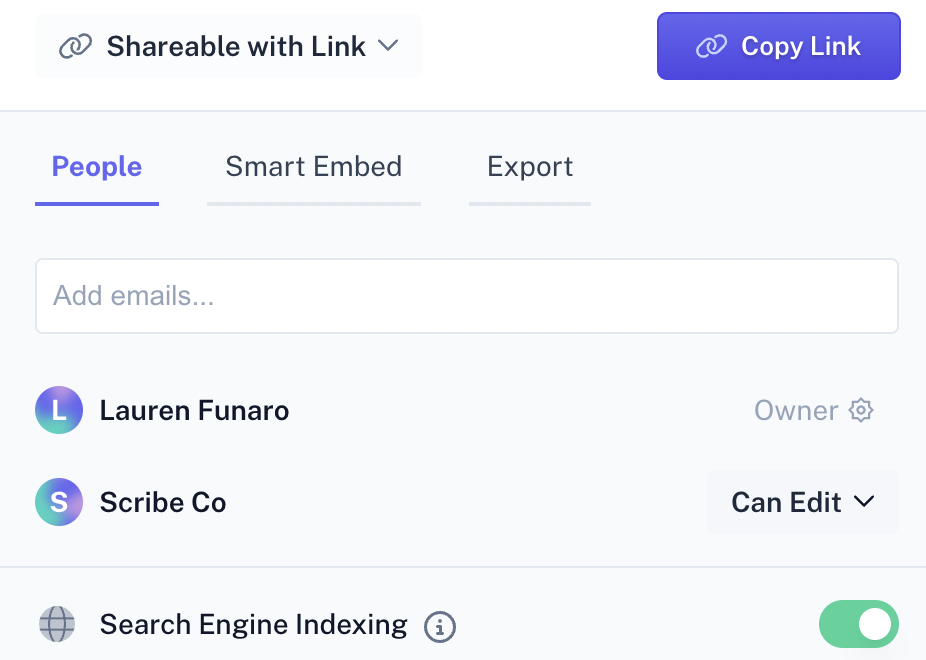
- To share a Scribe, send a link for easy access. Or, add email addresses to the access list so peers can see it in their dashboard.
- To embed a Scribe, open the Smart Embed tab in the sharing window. Then, copy and paste the embed code into your chosen platform.
- To download a Scribe, open the Export tab and select a format for the file, such as PDF, HTML or Markdown.
Other Ways to Screen Record on Chromebook
If you need to record full-screen video footage of your Chromebook, you’ll need to use the native Chrome OS screen recording feature. Here’s how:
- Open the platform: Press Shift + Ctrl + Show windows. The Show windows key is unique to Chromebooks and is similar to the Windows key on PCs.
- Choose the tool: Click the Screen record button from the bottom toolbar.
- Start recording: Choose whether you want to record the entire screen, part of the screen or a certain window. Click to start recording.
- Finish recording: Press the Stop Recording button at the bottom of your screen to end the capture.
To configure your recording options, click the Settings icon before you record. You can give the platform permission to turn on your webcam, use your microphone or capture the device’s audio.
Save Time With Scribe’s Intuitive Software
No matter what process you’re describing, using Scribe is the fastest way to create thorough documentation. All you have to do is walk through a task — our platform will do the rest. From generating onboarding instructions to transferring knowledge, Scribe has your back.
Try it for free today.
FAQs
Can Scribe Record Video?
No — Scribe captures screenshots and generates instructions for what you do on your screen. It doesn’t output a video file.
Can I Capture the Entire Screen With Scribe?
At the moment, Scribe only offers desktop applications for Windows and Mac. On a Chromebook, you can use our browser screen recorder to capture processes in a Chrome window.
What's the Best Screen Recorder for Chromebook?
Scribe is your best option for capturing your activity in the window and turning it into a written guide. Rather than spending hours manually documenting a task, Scribe can do it for you in seconds.
Is There a Built-In Screen Recorder for Chrome?
Chrome does have a screen recorder, but like Windows’ Steps Recorder, it only captures a video of the browser. If you need to create comprehensive standard operating procedures, Scribe is the best bet. With Scribe, you’ll have a written guide you can share with anyone in the time it takes you to complete a task.


