
Introduction
Ever looked at something on your computer or phone and realized you need to save it?
Powerful screen-capture solutions are available for both mobile and desktop operating systems. Learn to capture a screenshot on Android, Chrome OS, iOS/iPadOS, macOS and Windows.
How to send a screenshot: 4 Techniques
What's the best way to share a screenshot? Where can screenshots be uploaded for simple sharing?
There are several ways to send a screenshot, some of which are quicker and more effective than others. Here are four different methods to try.
How to take, save & send screenshots via e-mail
Here's how to send a screenshot captured on your mobile device through email:
- Press and hold the power and down-volume buttons for a few seconds.
- Pull down the notification panel if you want to send the file immediately after capturing a screenshot. Select "Share" to forward the link by email.
- Here, you may choose from several different methods for distributing the file. Pick an email program to use.
- Attached to your e-mail is your screenshot. Just fill in the recipient's details and a subject line to send.
How to attach a screenshot as a file
Any screenshot saved to your computer can be sent through messaging apps.
When you take a screenshot, most programs, including the built-in ones on Macs and PCs, will store the image locally on your hard drive. You may then attach the screenshots and post them on a messaging service.
This is the slowest way to share a screenshot since you'll need to:
- Launch both your messaging app and the file in question.
- Select the file from where you've saved it.
- Select 'upload' on the app of your choice.
- Confirm upload and send.
On the other hand, this is the approach that most screenshot programs support when attempting to transfer a captured image.
How to copy a screenshot to the clipboard
Apps like Snip & Sketch for Windows 10 and Greenshot make it easy to paste your screenshots onto the clipboard.
To send your screenshot to someone else, just:
- Copy the screenshot by right-clicking on your mouse or using keyboard shortcuts.
- Paste the screenshot an email or other message.
- Selecting The 'Print Screen' key on your keyboard works similarly to create these short-term snapshots.
You can do it this way to quickly and easily send a screenshot. However, it won't function with previously shared pictures that you need to re-share.
When you copy something else, your computer's clipboard overwrites your screenshot since it can only hold one item at a time.
How to send a screenshot via cloud sharing
Sending a screenshot over the cloud is the quickest and easiest option.
Multiple cloud-based methods exist for you to distribute your screenshot. You can easily share your screenshots with a URL by:
- Uploading the screenshot to a cloud storage service like Google Drive or Dropbox.
- Pulling a link from the menu in the drive.
Of course, uploading each image before linking a screenshot still takes time, so this technique isn't ideal.
Thankfully, after taking a screenshot, you can immediately upload it to the cloud.
{{banner-short-v2="/banner-ads"}}
How to take a screenshot on iPhone or iPad
Devices lacking a Home button, such as the iPhone X, 11, 12, and 13 series, and the latest iPad Pro and iPad Air models, may still capture screenshots by holding down the side button to the right of the screen (top button on an iPad) and the volume up button simultaneously.
Holding the sleep/wake button and pressing the Home button will snap a screenshot on any Apple device with a physical Home button, including the iPhone SE. If the sound is turned on, you'll hear a camera's shutter and see a "flash" on the screen. You may find the screenshot in your " Screenshots " photo album and on your camera roll.
You can capture a screenshot on an iPad while drawing with an Apple Pencil. To take a screenshot, use the Apple Pencil and swipe up from the bottom left corner. Even after the snapshot has been taken, you can select the current screen or the full website.
Taking a screenshot in a typical manner may be challenging with certain programs. Here, the built-in Screen Recording feature on your smartphone comes in handy. While its primary use is for screen recording, it may also be used to capture screenshots. To begin, navigate to Settings > Control Center and add the shortcut button there.
How to take a screenshot on Android
Different Android phone manufacturers may use different shortcuts for taking screenshots.
- If your device has one, holding power and volume down (or the power and home buttons) should capture the entire screen on any Android smartphone.
- A screenshot button is located in the pull-down screen on a number of Android smartphones.
- You may use voice commands to have Google Assistant or Bixby (Samsung) snap a screenshot on your phone. Screen captures may be made using the S Pen stylus on Samsung devices by selecting Screen Write in the Air Command menu.
How to Take a Screenshot on Apple Watch
Taking a screenshot of your Apple Watch display requires you to turn on the feature.
- To enable screenshots, open the Watch app on your iPhone.
- Go to 'My Watch'
- Go to 'General'
- Click 'Enable Screenshots' or 'Launch Settings'
- Go back to 'General'
- Click 'Enable Screenshots.'
Simply pull up the relevant screen to snap a screenshot on an Apple Watch.
To use the Digital Crown:
- Press and hold the side button.
- Similar to an iPhone, pressing the shutter button will cause a white "flash" on the screen and snap the photo.
- The captured image will be saved to your iPhone's camera roll, not the watch.
How to take a Screenshot on Windows
- In Windows 10, using the Print Screen button is the easiest way to capture a screenshot.
- On most keyboards, it's at the top right corner; on some, it's exactly next to the Space Bar.
- To copy the full screen to the clipboard with a single tap, use the shortcut PrtSc. Simply use Ctrl + V to copy the text and then paste it into your preferred application.
This approach has the drawback of grabbing everything on your screen, and if you have many monitors, it will treat them all as though they were just one.
Get specific by pressing Alt + Print Screen to capture just the active window.
Using PrtSc with OneDrive is possible in Windows 11 as well.
To have all screenshots stored in a cloud-based folder, go to:
- 'Settings'
- 'Backup in OneDrive'
- Click 'Automatically Save Screenshots'.
Microsoft has merged its Snipping Tool and Snip & Sketch snapshot programs into a single, streamlined program called the Snipping Tool.
Capturing settings are still accessible using the Shift + Windows Key + S keyboard shortcut.
Instead of using the shortcut, start the program directly to record the delay time.
Use Scribe to create how-to guides with screenshots
Do more than just share one screenshot at a time. Scribe's a screenshot Chrome extension that makes it easier than ever to capture and share annotated screenshots with teammates and clients!
Here's how it works.
- Create a free Scribe account.
- Download the Scribe Chrome extension.
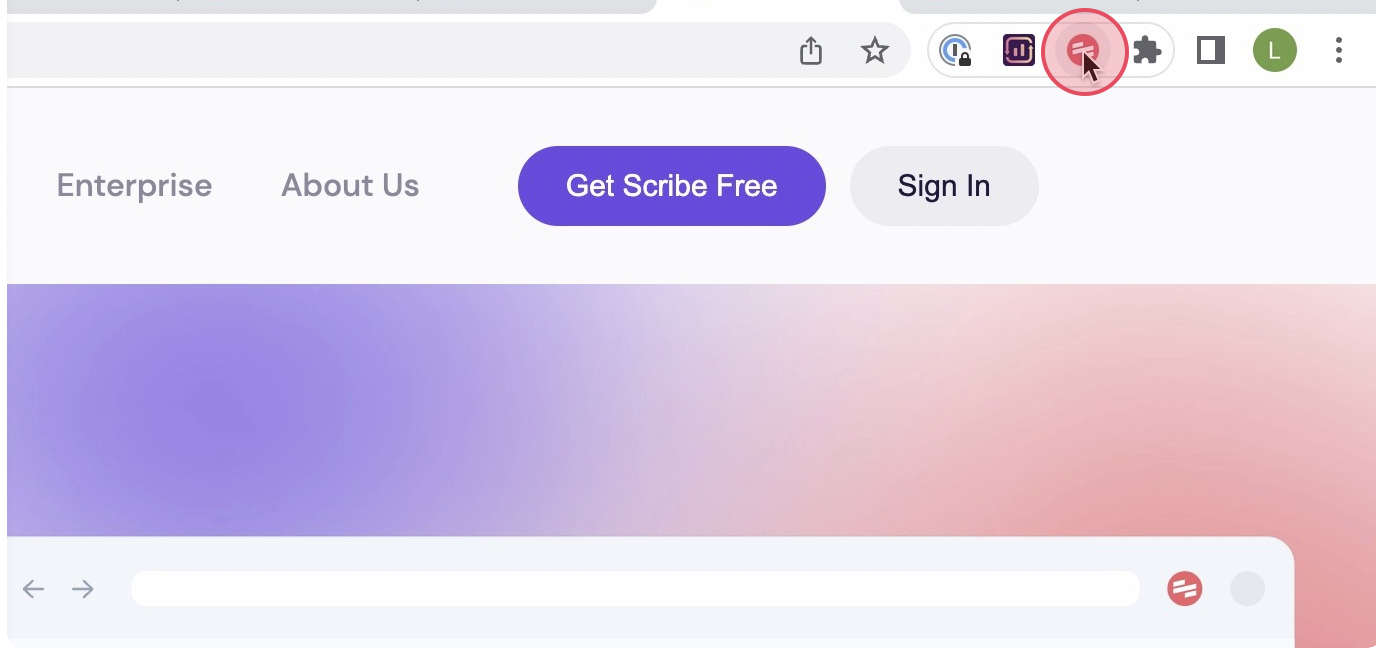
- Pin the extension your browser.
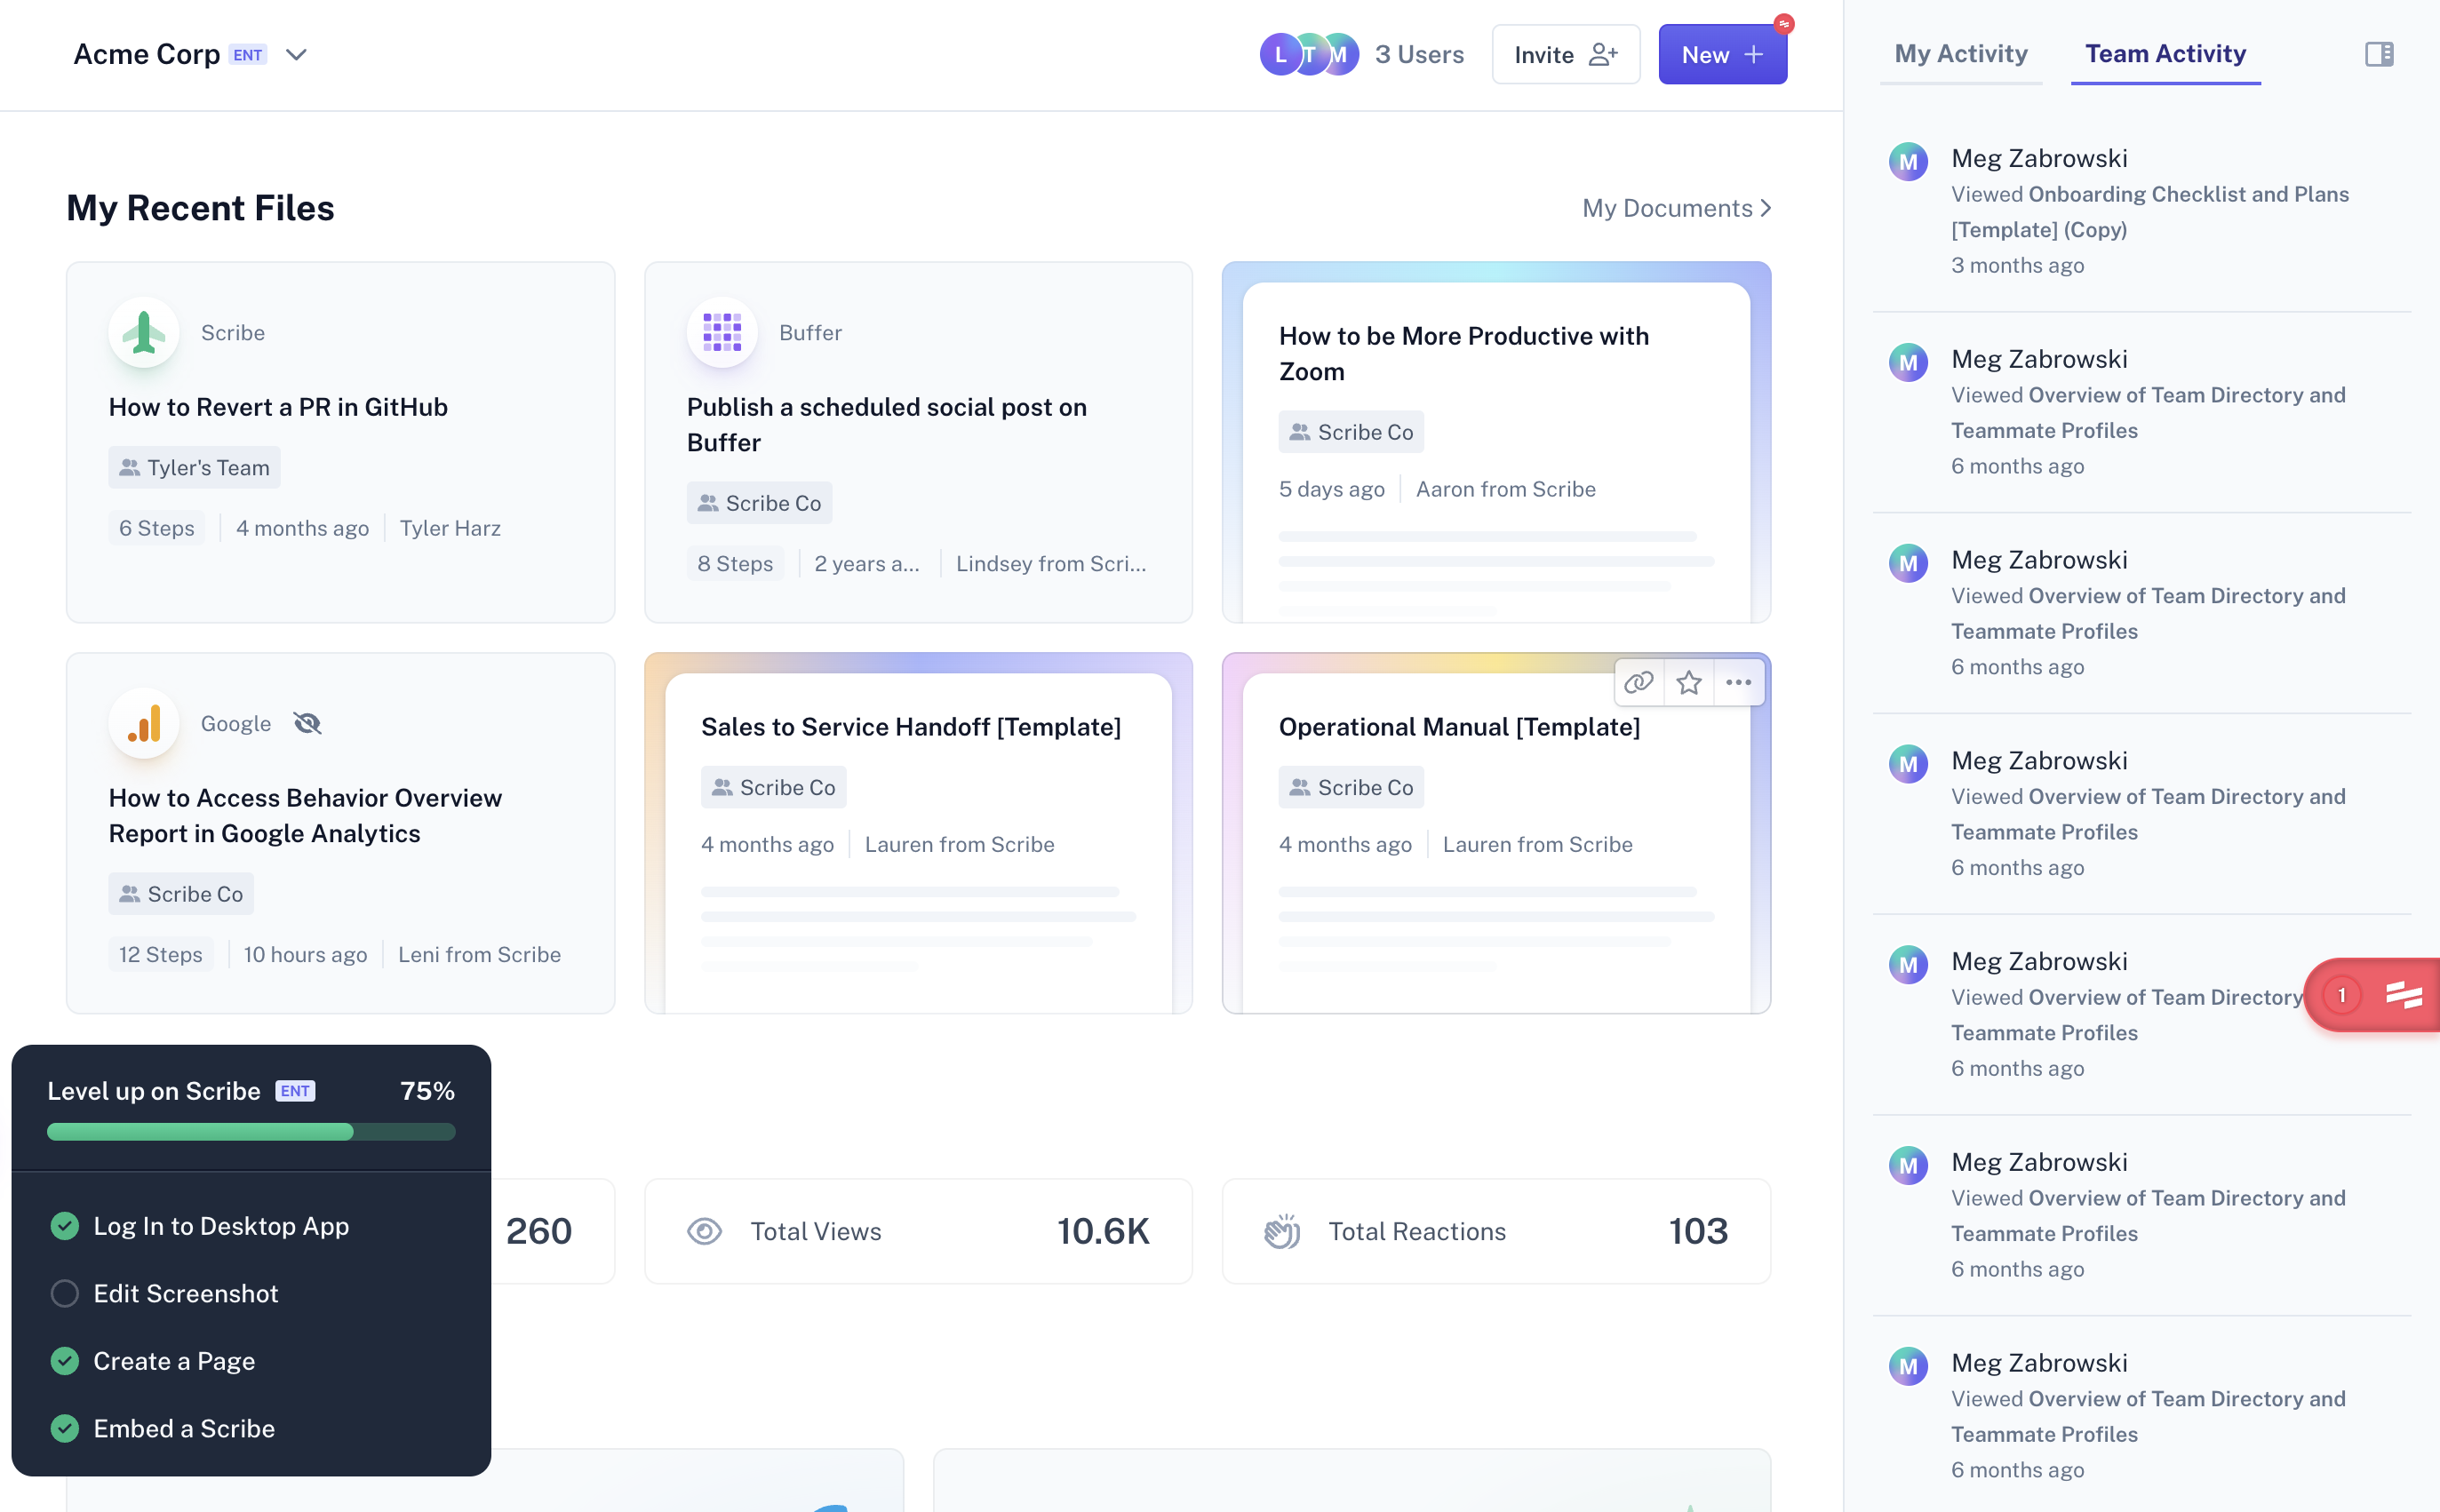
Then you'll be able to check out your workspace and start creating your own how-to guides.
Then follow these steps to make your first Scribe:
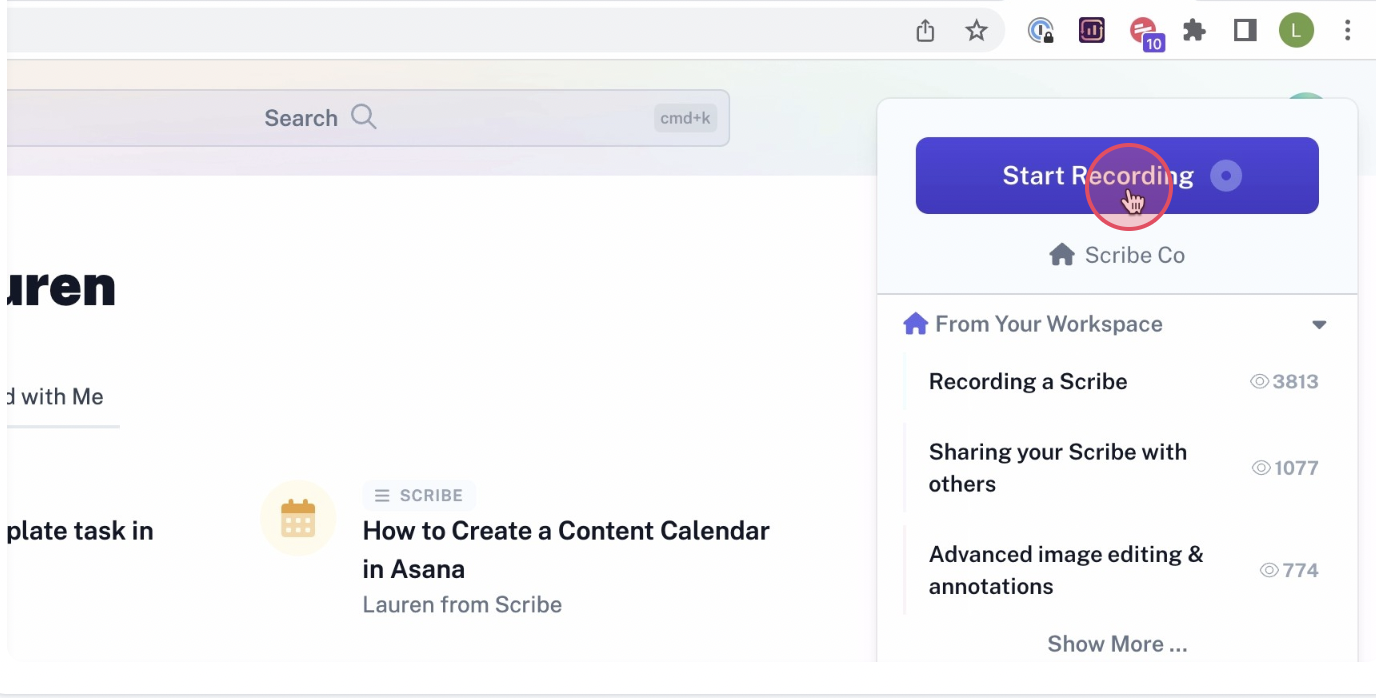
1. Record your process: Once you’ve installed Scribe, navigate to the process that you want to document and click on the Scribe icon in your Chrome toolbar.
Then, click ‘Record’. This will start the recording process, and Scribe will automatically capture screenshots and text as you navigate through the process.
2. Stop recording
Once you’re done your process, click ‘Stop Recording’ This will stop the Scribe recording and auto-generate the document.

3. Edit & customize
Once you've finished the process, Scribe will auto-generate a step-by-step guide for you based on the screenshots and text it captured.
Review the guide to ensure that it accurately reflects the process, and edit it as needed to add additional information or clarify any steps. You can customize your guide by adding tips and tricks, updating steps, and annotating screenshots. You can also combine multiple guides with text and video in Pages.
That's it! With Scribe, you can quickly and easily create detailed process documentation that will help you streamline your processes and improve your team's productivity.
Share Scribe with your clients or teammates
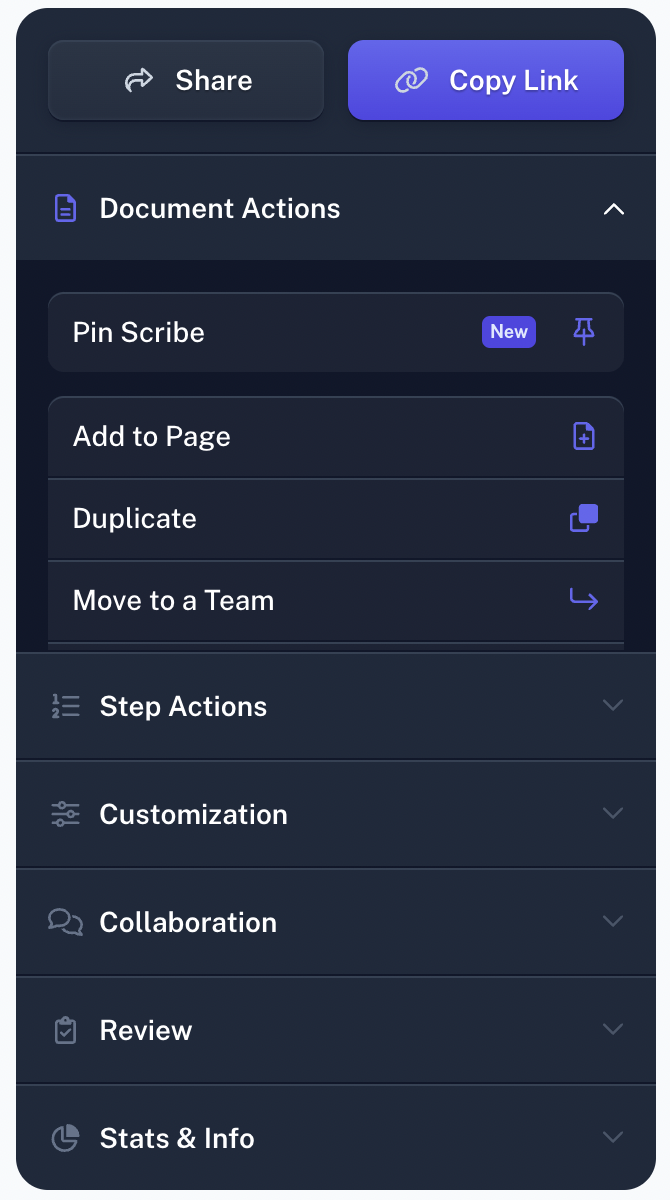
You can share your guide with your team by adding them to your Scribe workspace, sharing the guide via a link, or embedding it in your documentation.
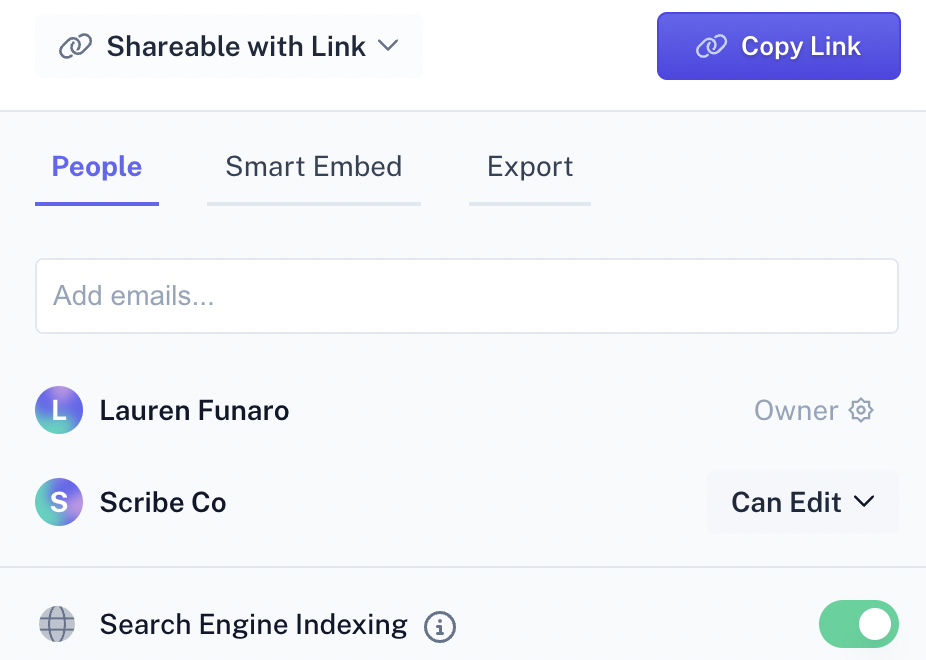
You can also export your guide to PDF, HTML or Markdown.That's it! With Scribe, you can quickly and easily create detailed documents that will help you streamline your processes and improve your team's productivity.
You have the choice of keeping it as is or modifying the sharing settings to read "Not shared" or "Share with (your company)."
Conclusion
Saving you 20+ hours a month on training and explanation, Scribe swiftly auto-generates step-by-step guides full of text and annotated screenshots.
Scribe makes it easier than ever to document and share processes. Get started today!


