
Introduction
Screenshots are a common way to capture and share information. Whether you're working on a project, troubleshooting an issue, or want to share something interesting, taking a screenshot can be a quick and easy way.
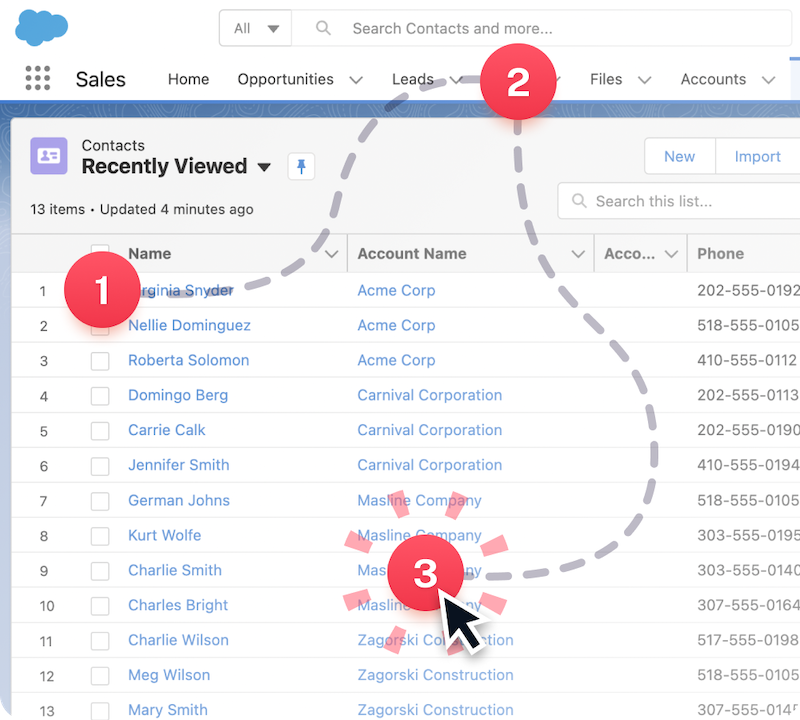
However, once you've captured the screenshot, you may find it contains more information than you need, or that you want to focus on a specific area. This is where cropping comes in – by selecting a portion of the screenshot, you can highlight the information that's most relevant to you.
How to crop a screenshot on Windows
Is cropping screenshots to the ideal size troubling you?
Here's a step-by-step guide on how to crop screenshots on Windows using the Snipping tool without breaking a sweat!
How to crop a screenshot with Windows built-in tools
If you go to Settings > Accessibility > Keyboard in Windows 11, you can reassign the PrtSc key to launch the Snipping Tool.
If you want to use the screen capture tool instead of printing the full screen, you can check the Use the Print Screen Button to Open Screen Snipping box


Operating the Snipping tool with a mouse & keyboard
- Press the Windows logo key + Shift + S. Your PC darkens as you select an area for your screenshot.
- A default rectangular mode pops up. To change the shape of your snip, click and choose one of the options on the toolbar (Rectangular mode, Window mode, Full-screen mode, and Free-form mode).
- A notification appears and your screenshot is automatically copied to the clipboard.
- Save the screenshot.
Operating the Snipping tool with a mouse only
- Go to 'Start' and search for a 'Snipping Tool.' Select and open it from the results.
- Select 'New' to take a screenshot.
- Rectangular mode is selected by default but you can change the shape by choosing other options on the toolbar (Window mode, Full-Screen mode or Free-form mode).
- A notification pops up and the screenshot is automatically copied to the clipboard.
- Save the snip
How to crop the screenshot
- You can use the pre-installed Paint 3D tool to edit your screenshot.
- Open the screenshot in the Snipping tool.
- Select 'Edit' then click on edit with 'Paint 3D.'
- Click and hold the left mouse button and draw the shape you want around the area of the screenshot that you're interested in.
- Right-click on the image and select 'Crop' from the drop-down menu.
- Choose your preferred size for your screenshot. You can add color, text, or other enhancements.
- Click the save button and select 'Save As Type' to save your cropped screenshot.
📌 Related resource: 10 Best Windows Steps Recorder Alternatives
Other built-in tools you can use to capture and crop a screenshot include
1. Print Screen
The Print Screen key is found at the top right corner of your keyboard. It is labeled as PrtScn, PrintScrn, PrtS or SysRq.
Here's how it works:
- Press the Print Screen to capture the image of your screen and copy it to the clipboard.
- Press Windows + PrtScn to crop the entire image on Windows.
- Copy and paste the screenshot to Paint or other image editors to edit it.
- Highlight the area of the image you want to remove then save.
2. Game bar
All Windows 10 and 11 users can use the built-in Game Bar as a Windows and Mac screen recorder and capture tool. Here's how Game Bar works:
- Go to settings and enable Game Bar to record or take screenshots.
- Click on the Windows button + G key to start the Game Bar.
- Click the screenshot option in the Game Bar (Windows key+ Alt + PrtScn) to capture a full-screen screenshot.
- Copy and paste the image to Microsoft Paint to edit
🔥 You can save time by using Scribe to generate detailed how-to guides, SOPs, and training resources. And here is a testimony. Read the "How to unhide sheets in Google Sheets" guide to see how Scribe has made it easy to create a step-by-step guide in seconds.
What is Scribe?
Scribe is a screenshot Chrome extension and desktop app that enables users to create step-by-step guides and process documentation by capturing screen activity. This screenshot app for Windows works by recording the user's screen activity and then generating a guide that breaks down each step into a series of screenshots and annotations. This makes it easy to follow and understand complex processes.
Scribe features include:
- Screen capture and documentation: Scribe captures screen activity to create written how-to guides with annoted screenshots.
- Step-by-step guides: Scribe breaks down each process into a series of screenshots and annotations, making it easy to follow and understand.
- Browser extension and desktop app: Scribe is available as both a browser extension and desktop app, making it easy to use across different platforms.
- Pages feature: Scribe's Pages feature allows users to create larger process documents with multimedia elements such as video and images.
- Collaboration tools: Scribe includes features that make it easy for users to collaborate on process documentation, such as sharing files and working on documents together in real time.
- Customizable templates: Scribe offers customizable templates that allow users to tailor their guides to their specific needs.
How to get started with Scribe
- Sign up for Scribe (The free Basic Plan offers a Chrome extension, while our Pro and Teams Pro plan offer the extension and desktop app)
- Download the Scribe Chrome extension
- Open up your Scribe workspace and download the desktop app
Downloading & installing Scribe on a Windows device
Here’s a step-by-step guide on how to download and install Scribe on a Windows device:
Use Scribe to build AI-powered step-by-step guides
Scribe's AI-powered technology recognizes the actions performed on the screen and generates text descriptions and screenshots with annotations for extra context on every step and click.
Here’s to get started with Scribe!
Step 1: Record your process
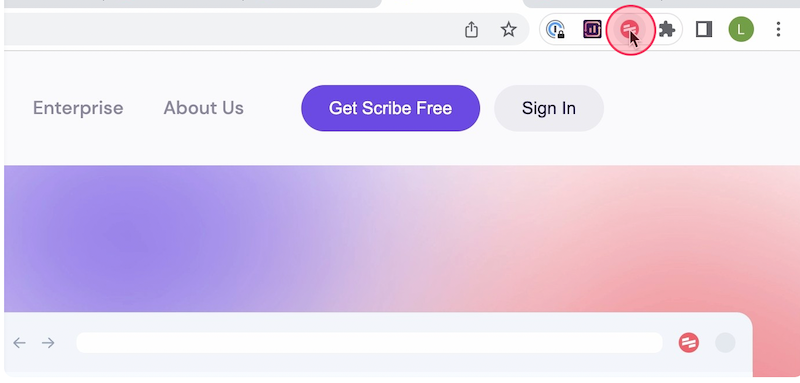
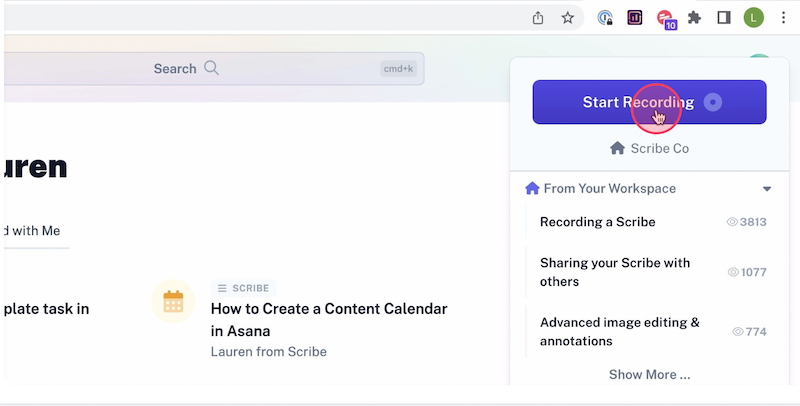
Once you’ve installed Scribe, navigate to the process that you want to document and click on the Scribe icon in your Chrome toolbar.
Then, click ‘Start Capture’. This will start the recording process, and Scribe will automatically capture screenshots and text as you navigate through the process.
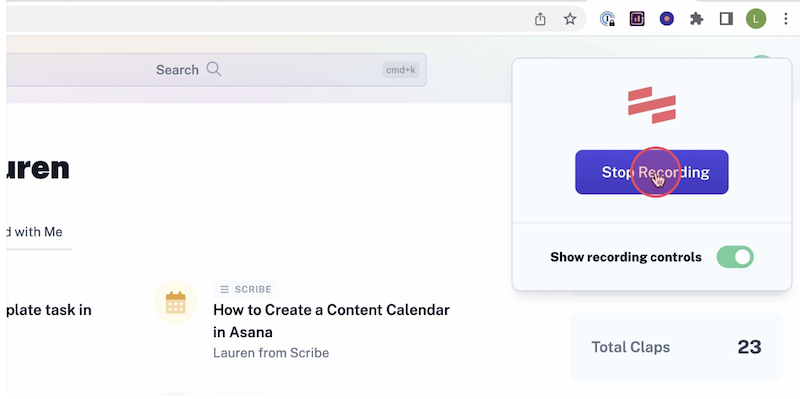
Step 2: Stop recording
Once you’re done your process, click ‘Stop Recording’ This will stop the Scribe recording and auto-generate the guide.
Step 3: Edit & customize
Once you've finished the process, Scribe will auto-generate a step-by-step guide for you based on the screenshots and text it captured. Review the guide to ensure that it accurately reflects the process, and edit it as needed to add additional information or clarify any steps.
You can customize your guide by adding tips and tricks, updating steps and annotating screenshots. You can also combine multiple guides with text and video in Pages.
Step 4: Share with your team
You can share your guide with your team by adding them to your Scribe workspace, sharing the guide via a link, or embedding it in your documentation. You can also export your guide to interactive PDF, HTML or Markdown.

With Scribe, you can quickly and easily create detailed user manuals that will help you streamline your processes and improve your team's productivity.
Get the Scribe magic ✨
Take your screenshots to the next level, say goodbye to manual process documenation and save up to 93 percent of your time with Scribe.
Scribe instantly turns any process into a detailed step-by-step guide. Ready to experience the Scribe magic? Download the Scribe tool today and create your documentation in seconds.


