
Introduction
As we navigate a world full of grand and heavy-duty technologies, it's easy to overlook the simple yet powerful functions that improve our daily lives, like the Print Screen feature. This seemingly small and inconsequential function can be a game-changer for productivity and efficiency and provides usefulness in various areas and situations.
In this blog post, we'll learn how to take screenshots on your computer using the ''Print Screen'' function, plus a better way to document processes you want to revisit.
But before then, let's talk briefly about the Print Screen Function.
What is the Print Screen function?
The Print Screen Function is a feature found in most Windows-based computers. It is abbreviated to “PrtScn” on keyboards, and when clicked, it allows you to capture the information or content displayed on your entire screen at the time.
This includes open windows, open tabs on your browsers, task bars and desktop icons.
For example, if your computer or device is experiencing a technical issue, explaining the problem in detail can be challenging. However, by taking a screenshot of the problem, you can provide context and visual aid on what the problem is.
Another important use of the Print Screen Function is to document information that is not easy to copy and paste. For example, things like your order confirmation number or receipt after purchasing online.
Taking a screenshot ensures you have a record of that transaction and can back up your claims in case anything goes wrong.
How to take a screenshot with Print Screen
Here are five easy steps that show you how to take a screenshot using the Print Screen Function.
Method 2: Fn
On some computer keyboards, the ''Print Screen"' key has another line of text written above it. Usually, this means the key is shared with another key function. If this is your keyboard type, you must simultaneously click the ''Fn'' button and the ''PrtScn'' button to take a screenshot.
Method 3: 'PrtScn'
If the above methods do not work, here is another way to try. Click on the windows button and press the 'PrtScn'' or '' PrtSc'' button simultaneously on your keyboard to take and save your screenshots.


How to take a screenshot of a specific part of your Screen.
What do you do if you are trying to capture a part of your screen and not the entire thing? You don't have to worry. Here are a few simple alternatives you can try.
1. Find the “Alt + PrintScreen” buttons on your computer keyboard. (Please bear in mind that Print Screen is often abbreviated to “PrtScn” or “PrtSc”). Press the buttons simultaneously to capture a screenshot of only an active window or tab.
OR
2. Use the snipping tool or feature. To open this, click “Windows+Shift+S” and select the specific part of your screen you want to capture. This feature is available in Windows 7,8 and 10. (Check out the best Screenshot Software for Windows)
OR
3. Use a third-party screenshot tool or screenshot Chrome extension like Scribe. Unlike using the Print Screen function, Scribe offers you more robust options. Like allowing you to capture multiple screenshots and create a step-by-step guide with auto-annotated screenshots. If you like details and want to be more productive, using Scribe can save you more time.
How to take a screenshot with Print Screen if you use a MacBook?
If you use a Mac, you can capture a screenshot using a different function on your keyboard. Press “Command + Shift + 3” to capture an image of your entire screen and save it to your desktop.
To capture only a specific part of your screen on a Mac, press “Command + Shift + 4,” then move your cursor to the area you want to capture.
Want more? Check out more screenshot options and Snipping tool alternatives for Mac.
How to use the 'Print Screen' function effectively
- Know where the "Print Screen" button is on your computer: Depending on your computer type, the ''Print Screen'' button might be located on your keyboard's far left or far right. Knowing where this is by heart will make it faster and easier to take screenshots. Additionally, understand how it is written on your keyboard. For example, some computers may have "PrtScn" or ''PrtScr" written on the button.
- Know how to use the Print Screen button to take screenshots on your computers: Different prompts work for different computers. Make sure you know which option to use on your computer.
- Use keyboard shortcuts: Using keyboard shortcuts can save time when taking screenshots. For example, you can use the "Windows key + Print Screen" shortcut on a Windows computer to take a screenshot and save it directly to your computer.
- Edit your screenshots: After taking a screenshot, you may want to edit it before using it. You can use image editing software like Paint or Adobe Photoshop to crop or resize screenshots or add annotations to highlight important areas.
- Create a Folder to Save your screenshots: To quickly find and keep them organized, consider creating a folder specifically for screenshots. You can create multiple folders to save specific screenshots and avoid losing track of relevant information amidst many random screenshots. However, you can use Scribe Pages to combine multiple screenshots into one document rather than go through this long and tedious route.
- Consider using third-party software: If you take screenshots frequently or need more advanced editing options, consider using third-party software like Scribe, Swimm or an alternative.
Taking screenshots on a computer can make processes easier to remember. Still, it comes with its limitations. Suppose you are a person who prioritizes proper documentation or works with a team; screenshots would take longer if you need to document a tutorial or guide or redact sensitive information for your team members and will be less effective.
This is why we’ve built Scribe, an easy-to-use documentation tool that lets you capture, edit and share processes in seconds.
While the Print Screen feature is excellent and enables you to store information fast, you can use Scribe to auto-generate step-by-step guides, saving you valuable time and increasing your productivity significantly.
You can make a Scribe of simple things to explain any process; it doesn't have to be overly complex.
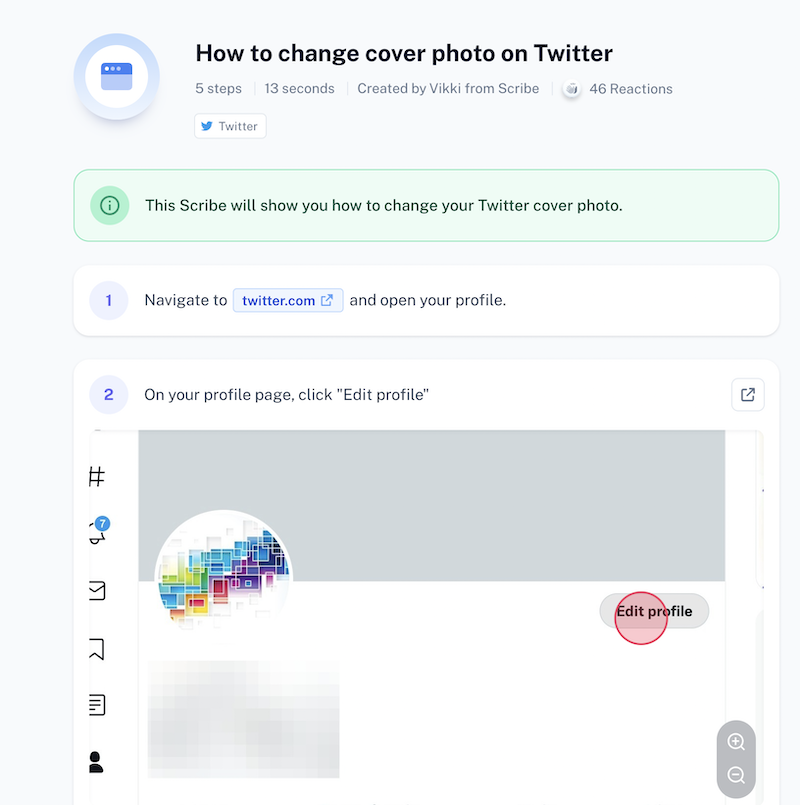
For example, this Scribe shows you how to change your cover photo on Twitter.
How do you use Scribe?
The process is simple. Install the Scribe extension to your browser, and here’s a Scribe that shows you how to use the tool once you’ve installed the extension. (And guess what — this Scribe was created in just 54 seconds!)
Finally, combining the Print Screen Function with Scribe can increase your productivity significantly and enable you to push the limits regarding what is possible with your documentation process. Try both tools the next time you want to capture any process on your computer.
Screenshots have been a valuable tool for a long time, providing an easy and cost-effective way to document important information, whether it is an item found while browsing the internet or an image you want to reference later. With the click of a button, screenshots enable us to capture the exact information we need, preserving it in a way that is easily accessible and shareable. Without this ability, we would be left with the daunting task of manually remembering everything we need or risk losing important information altogether.


