Introduction
Jump to..
- How to edit a screenshot
- Use a screenshot editor to make guides
- Why you need to edit screenshots
- Choosing a screenshot editing tool
Whether you’re creating a work presentation or capturing critical information, a quick screenshot can do the job for you. But things get tricky when you want to edit this screenshot—annotate specific details, blur a part of the image or add some text/elements.
Many tools out there either lack the comprehensive features to enhance your screenshot or, after all your editing efforts, surprise you with a paywall for the final product.
It doesn’t have to be that way. In this post, we’ll discuss the best ways to edit a screenshot effortlessly and do more with the knowledge you capture in visuals.
How to edit screenshots: A quick and easy guide
{{banner-short-v2="/banner-ads"}}
Editing and annotating screenshots used to be a hassle before. But today, you can capture and tweak screenshots with a few clicks using an intuitive tool like Scribe. So, let’s look at a quick breakdown of how you can edit screenshots seamlessly.
1. Prep
Before getting started, make sure you have all the required information ready to capture. This includes the image editing tool of your choice and the screenshots you would like to edit.
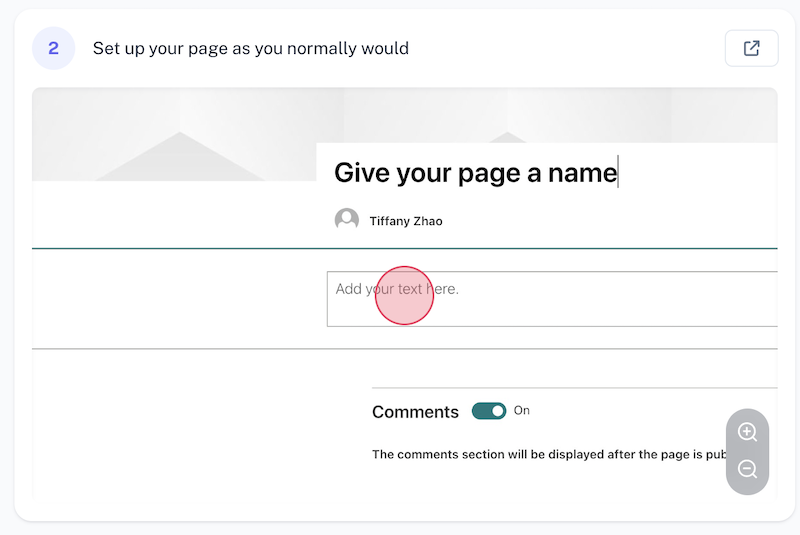
Use a tool like Scribe to capture your screen. Then use its intuitive interface add text, edit the image and create a step-by-step guide.
Capture and edit screenshots in seconds ➜
2. Selection
The next step for editing your screenshots is to make sure that your screenshot image is of the right size and quality.
For screenshots where you need to rearrange the UI, you can use a selection tool and move around different elements. This selection tool will let you select a specified area and automatically fill in the background with the adjacent color.
3. Blurring & redaction
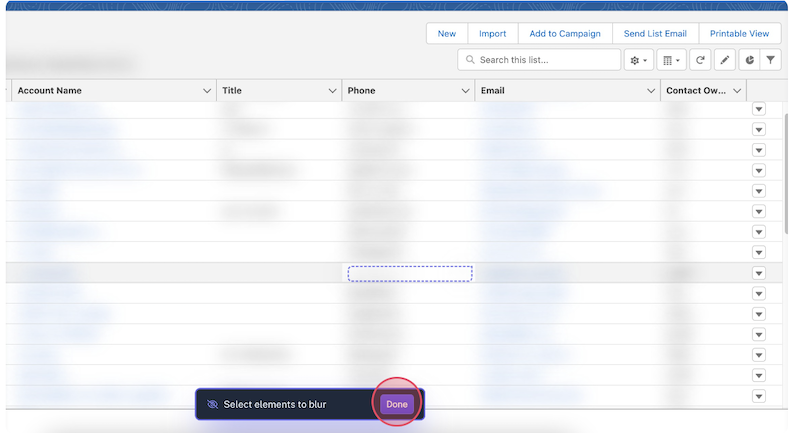
Most projects require you to share your data sources and screenshots. That being the case, you will have to be sensitive about confidential data and important credentials. Using features like blur and redact will help you protect sensitive details.

While the blur tool allows you to simply make the details unclear while preserving the aesthetic aspect, the redact tool completely blocks it out with a solid layer.
Using the blur tool can help you avoid any possible conflict or privacy issues, which tend to be pretty common. You can use this feature to hide potentially private data, important numbers, and credentials or simply blur out unnecessary details to grab attention onto the area to be focussed.
Use a screenshot editor to make guides
Scribe captures and annotates your screenshots for you — so you can get more out of your screenshots for way less work.

- Highlight any part of the image and add arrows to your screenshots.
- Add (or move) click marks for your mouse to show exactly where you clicked on the screen.
- Download screenshots and replace them with GIFs.
- Work with your team and share guides with multiple options.
Generate guides with annotated screenshots ➜
4 reasons why you need to edit screenshots
Raw screenshots hardly convey the full story. You can add more insights to your screenshots by customizing them with annotations, highlights and other elements.
If you’re still wondering why you need to edit screenshots, these reasons will clue you in on the benefits of editing screenshots:
1. Save time and communicate effectively
One of the most obvious benefits of editing screenshots is the ability to pack one image with as much information as possible. You can add more details to a screenshot and save yourself the hassle of taking multiple screenshots and manually stitching them together.
Annotate and highlight information, erase errors, blur parts of the image and do a lot more to convey everything you want to share.
2. Improve the quality of information and visuals
Screenshot editing tools can be a game-changer for projects that require detailed explanations and pointers. You can add annotations and highlight important details to make the content more high-quality.
Besides adding more details, you can also improve the image quality and optimize its resolution. With clearer images and better explanations, editing your screenshots tends to improve the overall quality of your output and simultaneously maximizes productivity.
3. Protect confidential information
Blurring sensitive details is important when you’re using screenshots and recordings for professional and publicity purposes. If you have to share screenshots containing confidential details like passwords and personal details, you have to redact some aspects of the screenshot.
This is where screenshot editing tools can help. You can blur your screen either before or after capturing a screen grab.
4. Enhance visual aesthetics
Another reason why you need to edit screenshots is to make the pictures visually appealing and easy to read. If you’re using these screenshots for presentations or group discussions, you can add your company branding or include a background for the image.
You can also crop and resize a set of screenshots to maintain consistency in the look and feel of your visual content. Adjust the brightness and contrast to make the information clear.
Key factors to consider when choosing a screenshot editing tool
If you’re on the lookout for a screenshot editing tool, here’s a handy list of features to find the perfect solution:
- Ease of use: Intuitive interface and easy set up is table stakes for a tool like this. It should be easy to navigate for beginners and experts alike.
- Compatibility: This tool should be compatible with different operating systems and software with the ability to capture every part of your screen.
- Customization: Look for options to edit and customize your screenshots. Finalize what aligns with your requirements and budget.
- File formats: See the options to capture and export screenshots. Basic formats include PNG, JPEG, PDF and GIF.
- Reliability: An issue with most screenshot editing tools can be glitches while processing images. Stress test this tool to ensure it’s reliable for your use.
Edit screenshots like a pro with Scribe
If you’re fed up with using basic screenshots in your work, it’s time to level up and edit screenshots like a pro. This quick guide will help you plan and fine-tune images in the future. But the bottom line is that you need a powerful tool like Scribe to capture and customize screenshots for multiple use cases.
Scribe can record your screen, take exact screenshots and turn them into step-by-step guides, complete with text, links, GIFs and more. Check out Scribe for free!


